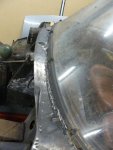
That tar like stuff is every where on the under side of a Slough traction. Patience a scraper and wire brushes in an electric drill is needed to remove it. The check marks are great to see reproduced and make the car look as authentic as possible. I put a splash of chrome yellow on every flare nut as I replaced the seal and tightened it up properly. This also helps by marking the parts you have completed when re assembling and in this regard is a very useful aid, just as it was in the factory.
Cheers Gerry
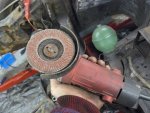
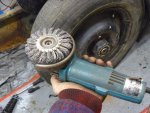
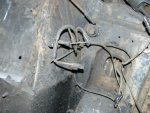
PS on the more open panels you could try an 8 inch waffle disc to remove the larger areas of coating. I stripped the finish from my CX using one of these ------quits fast and gentle on the metal.
Cheers Gerry
PS on the more open panels you could try an 8 inch waffle disc to remove the larger areas of coating. I stripped the finish from my CX using one of these ------quits fast and gentle on the metal.
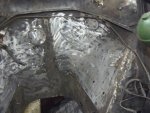
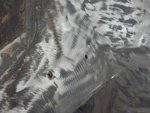
 . Either way, there's quite a few hours of "fun" there scraping, sanding, wire brushing and fiddling to be done