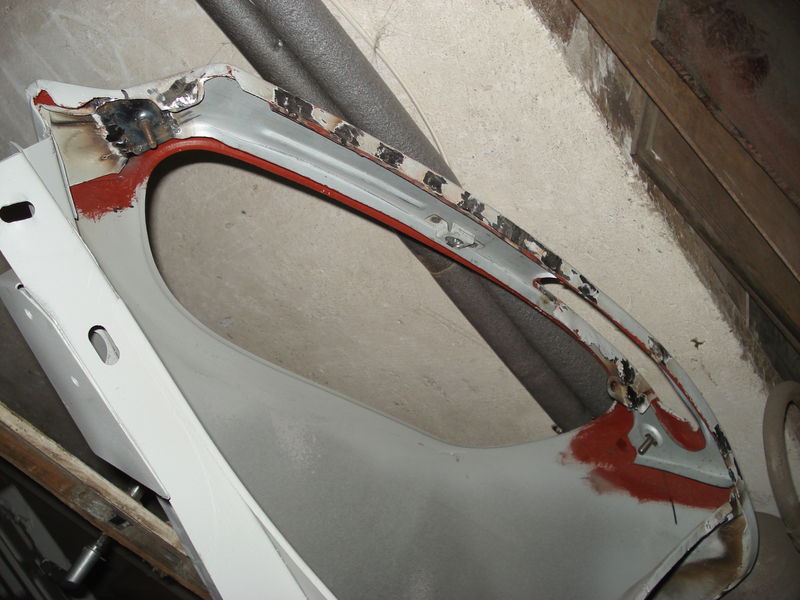
I didn't see where you got the repair panel from Chris. I might be going down this path shortly myself. Can you provide contact details for panel sourcing (inner and face).
SF
SF

I didn't see where you got the repair panel from Chris. I might be going down this path shortly myself. Can you provide contact details for panel sourcing (inner and face).
SF

Just looking at the German site Chris, that is serious restoration activity, handy little pointers too!
")

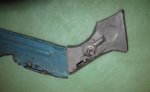
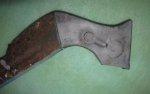
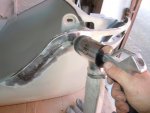
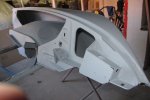
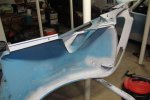
that looks Fantastic!! I'm dont' really understand the inner part as I haven't delved in there before.
seeya,
Shane L.
Hey Chris
have you considered bonding the inner panel instead of welding? I know Darrin at Citroen Classics uses a Wurth product for certain applications... The bond is indestructible and I imagine would seal the inner double skin from water penetration in the future... just can't remember which product it was...
Matthew.
You could also use cavity wax? The German chappy on the website link is using it extensively everywhere. Good stuff btw.
I'll stand corrected, but. . .
I think Darrin recommends using a PU polyurethane adhesive (much like you might use for sealing a bonded roof) between the two skins as a way of keeping muck and moister sitting in the gap, but still welding the panel in place. I would also selectively paint both sides of the panel away from areas to be welded.
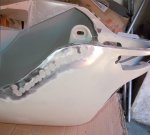
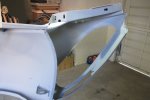
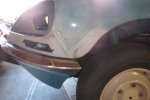
This is how I planned to proceed, welding would, to my mind be more appropriate. A more positive jointing, relatively straightforward with plug welding, permitting minor adjustments if required when fitting, and allows for fairly simple drilling out of welds if a future repair is required.
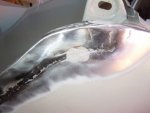
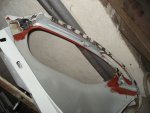
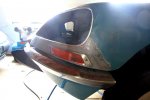
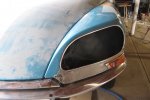
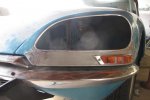
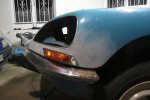
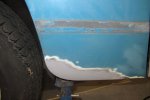
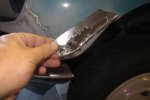
I picked up this pic of the same repair (I can't remember where :nownow: ) looks like red oxide as the rust protection, support panel plug welded in place and you can see the inner corner section rescued from the rotten panel welded to the new repair section.
Cheers
Chris
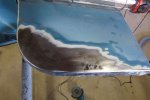

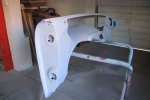
You're a machine Chris! Well done, the workmanship is amazing. I seriously love combing through this thread- whenever I have a spare few minutes I bring it up just to check what you've done/been up to in order to spot potential things I should be looking at next..!
The caliber of threads in the restoration section is absolutely fantastic. It's certainly motivated me to bring my level of quality up to try and match you guys!
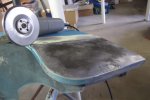
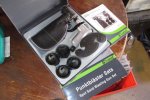
The punktblaster (spot blaster in English) is fantastic. Makes sure your welds are good! Can't wait to see your car back on the road.. It'll be amazing!
You're a machine Chris! Well done, the workmanship is amazing. I seriously love combing through this thread- whenever I have a spare few minutes I bring it up just to check what you've done/been up to in order to spot potential things I should be looking at next..!
The caliber of threads in the restoration section is absolutely fantastic. It's certainly motivated me to bring my level of quality up to try and match you guys!
The punktblaster (spot blaster in English) is fantastic. Makes sure your welds are good! Can't wait to see your car back on the road.. It'll be amazing!
You sure don't complain about the costs of getting professionals to do this stuff when you figure out for yourself how much time and effort is involved in making sure everything is ok
seeya,
Shane L.