GreenBlood’s D(very)Special Rejuvenation 2009>

Keep us posted on your progress Steven, I'm flipping all over the place on the final colour for mine. There is a strong argument to stay with original and Bleu Lagune does look good with the black upholstery. Plenty of time for my final decision...:wink2:

I'm working to get the best panel fit I can, so have made adjustments now to the rear guard and repaired door (it looks better but is now a little close to the guard - easy fix). As the rear door has had the complete bottom replaced I need to hang the front passenger door now to check how the adjustments I have made affect the front door position.

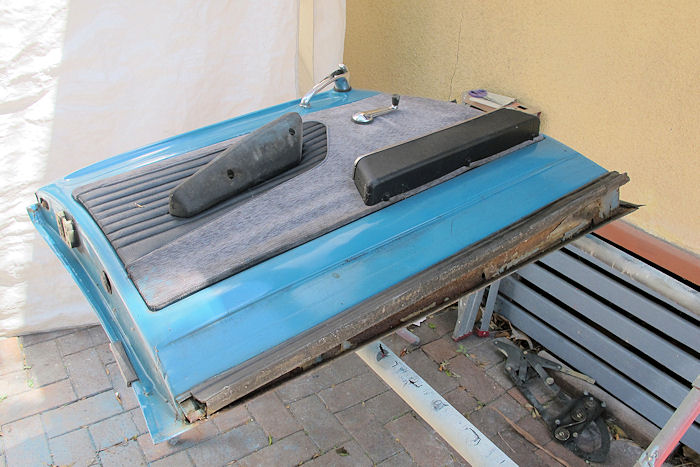
So, I've pulled out the front passenger door, I cant believe how heavy and awkward a fully assembled door is. It will be the next panel in line for preparation so stripping off the hardware may as well happen now as later and will make handling much easier without half it's weight.

I've taken pics along the way, this will be teaching 'granny to suck eggs' (where did that saying originate?) for most of you but hopefully useful for those that have yet to pull a door down, maybe a few tips for those that are all too familiar?


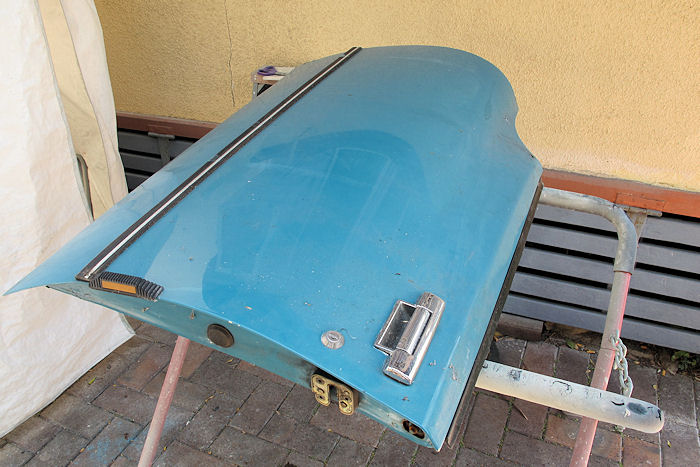
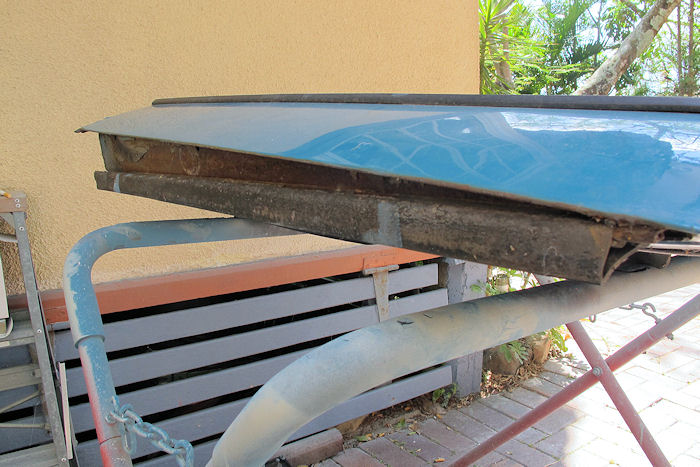
The door is a beauty, some surface rust on the underside only, shape is good, a couple of very small bog bubbles on the lower fold. Which will reveal rust but should be an easy fix - anything is after that rear door.

attachment.php


attachment.php


attachment.php


To remove the door card on a D Special, firstly remove the armrest - 2 x Pozi drive screws (yes I'm using a Philips head driver :nownow: )

attachment.php


Next the window winder, Just need to depress the doorcard sufficient to remove the holding pin. I find use of welding clamps makes it an easy task. With the forks of the clamps between the plastic trim and handle you can lever downward as you push out the pin.

attachment.php


attachment.php


attachment.php


You can now pry up the door card, put that spring with your collection of bits.

attachment.php


Now we are going to remove the glass, first undo the two M5 bolts extreme left and right.

attachment.php


Next the two spring clips under the lower arm mechanism. Release the arm from the glass support.

attachment.php


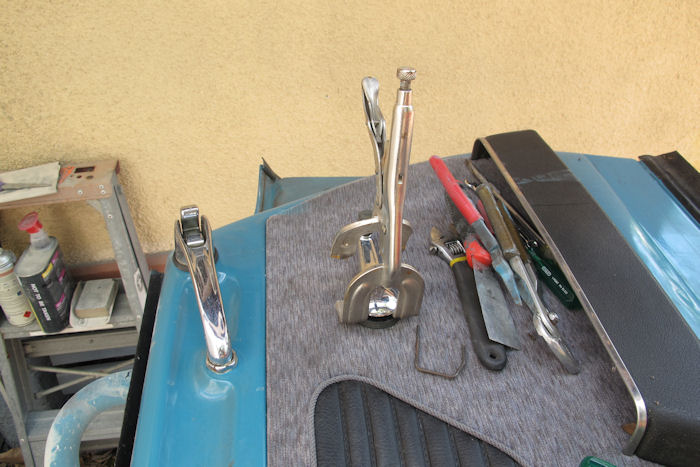
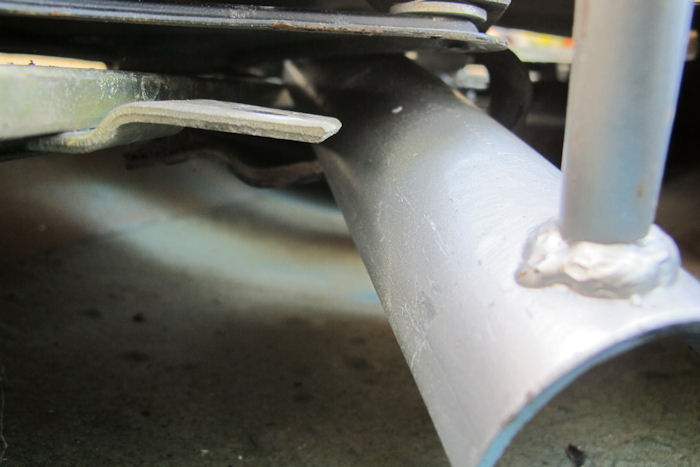
There is a large spring clamp that now needs to be opened in order to release the glass. I discovered a second use for the Citroen steering column spring compressor, it is the perfect tool for this job.

attachment.php


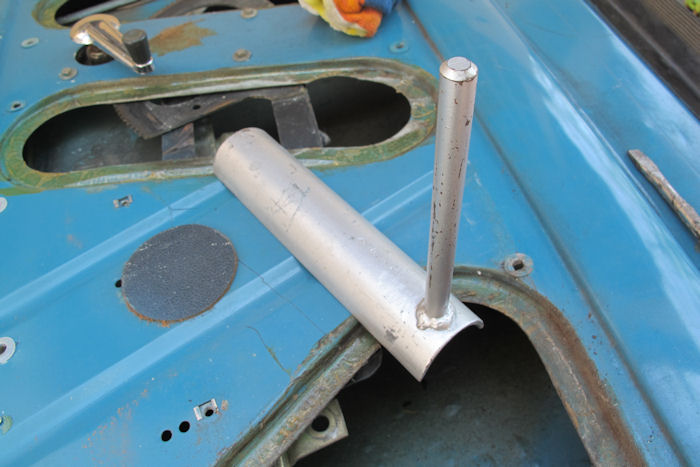
It slides into the spring clamp, and using the lever it opens the spring making withdrawal of the glass simple.

attachment.php


Next drop the winder mechanism, 4 x M5. and remove.

attachment.php


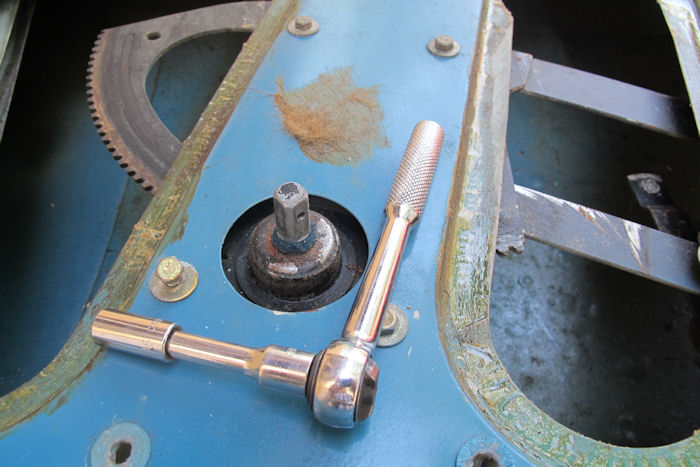
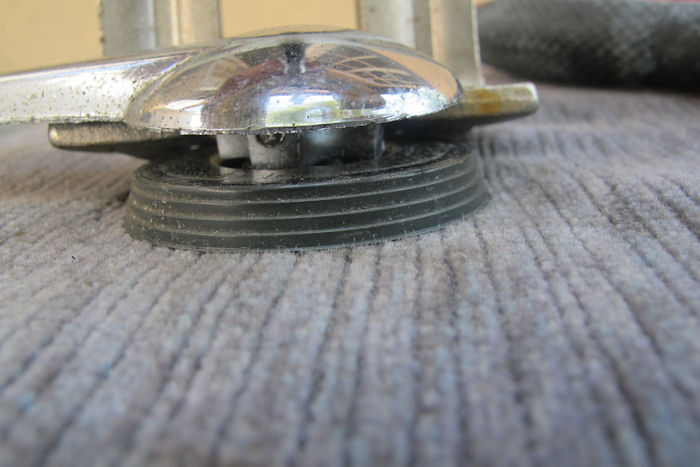
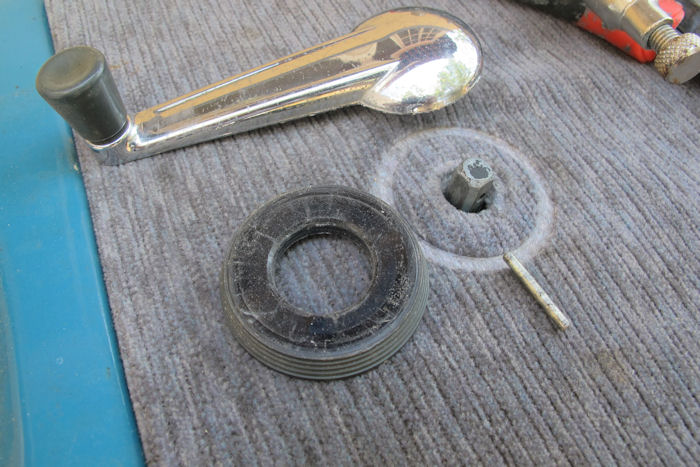
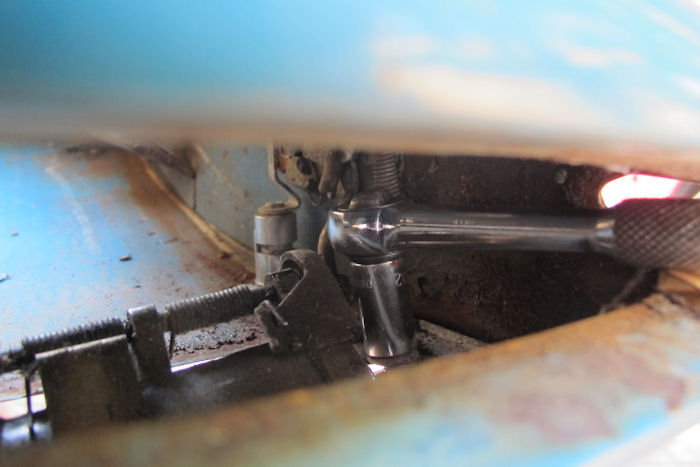
Internal door handle, undo the large chrome nut N.B. TREAT AS LEFT HAND THREAD!! RELEASE BY TURNING CLOCKWISE.

attachment.php


attachment.php


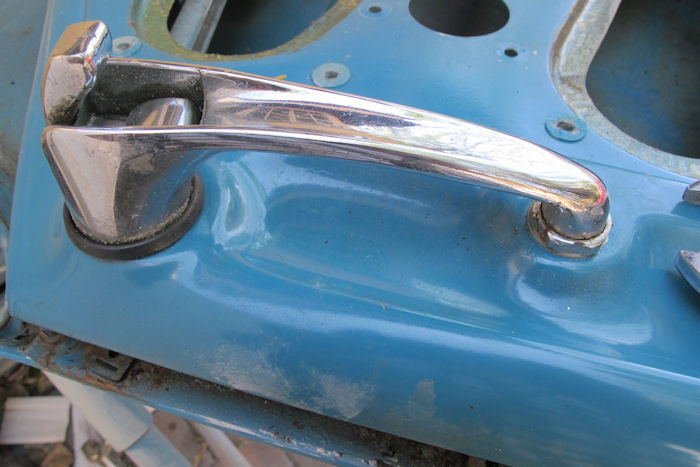
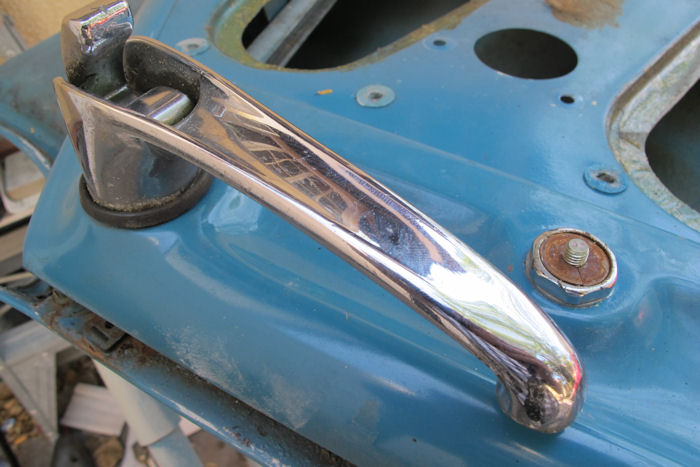
Turn the handle 90 degrees and lift, remove the rubber strap and release the handle from the actuator rod.

attachment.php


Next that big chrome nut, it's held by a washer with a split, I just lever the washer and wind it off the thread.

attachment.php


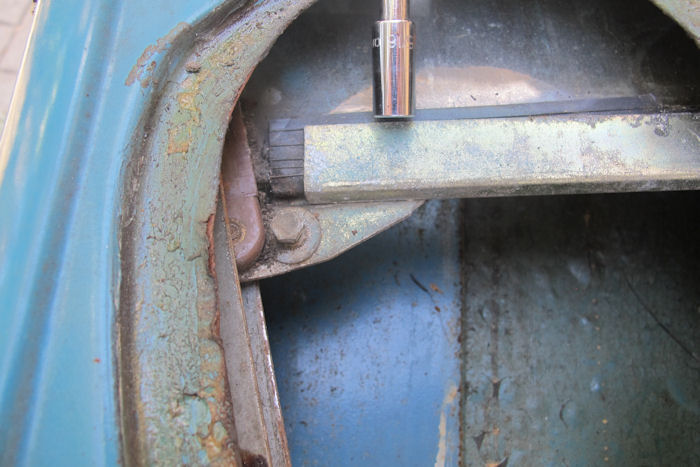
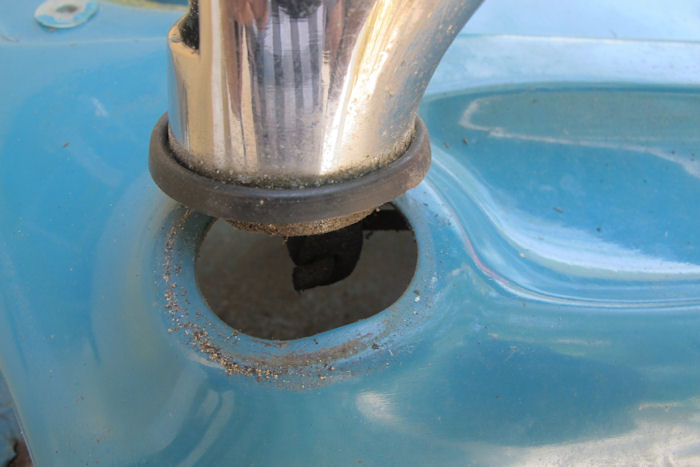
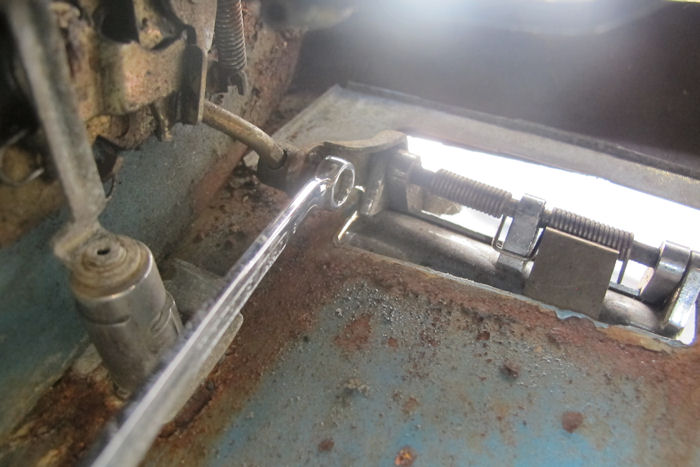
Next I remove the window slide channel, it gives more access for removal of the outer door handle.

attachment.php


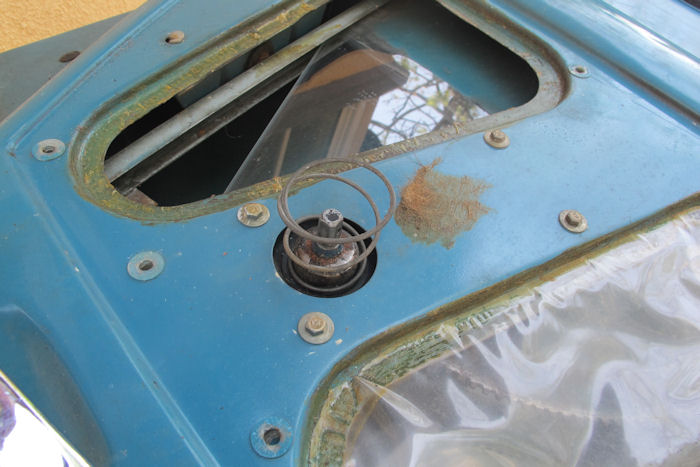
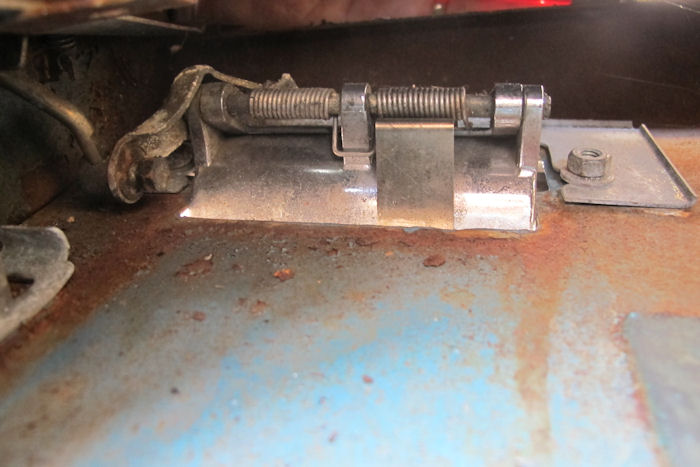
So, to the external lift style door handle, it is secured by two 10mm (from memory) nuts.
This is the easy one :wink2:

attachment.php


This one I find easier working from the outside of the panel.

attachment.php


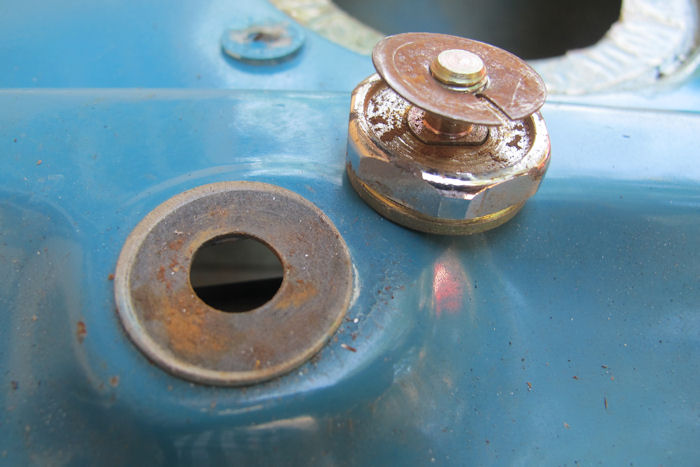
Now release the actuating rod, M5 screw.

attachment.php


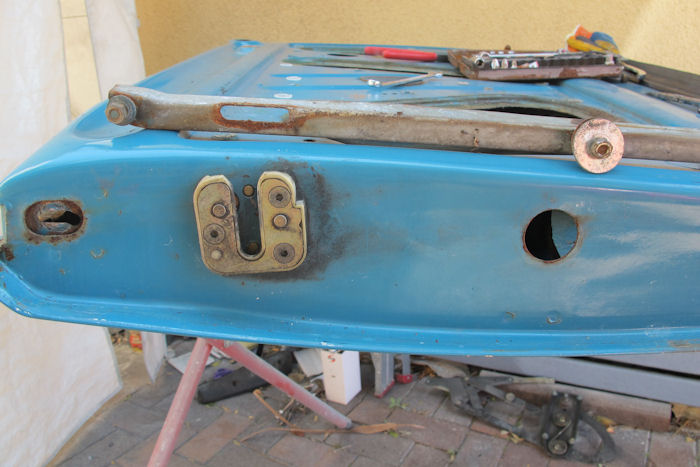
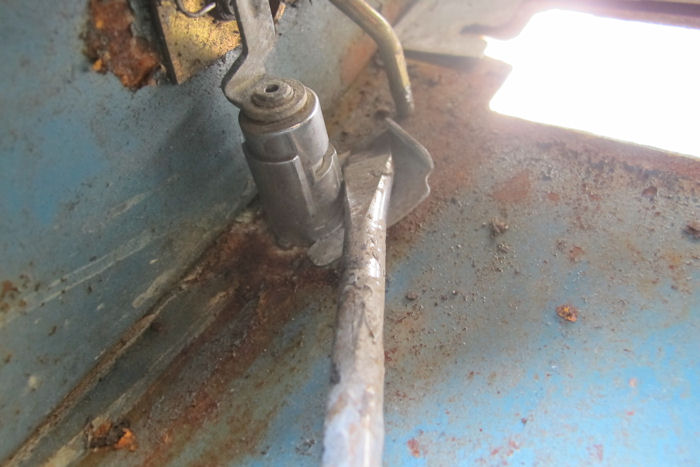
The door lock, simply lever the securing clip and it drops out.

attachment.php


All done, and half the weight. I've left the door catch and hinges because I'm hanging the door on the car.

attachment.php


...and finally on the car, I can see plenty of tweaking to get it right (or close to right) :eek:

attachment.php


The back of the front door needs lifting, add one shim to the lower front. The rear door can move forwards, remove upper and lower shims one of each. this should close the middle gap and open the rear gap, I'll report back...

Cheers
Chris


Hi Chris

I had to go back and find this post as "D" Day is approaching. Once you have released the spring clip, is it possible to remove the glass up through the top of the door or do the guide channels have to be released as well to remove the glass? I ask as I am not planning on completely stripping the doors for the respray... the less I have to disturb the better. Everything works, alignment is fine etc...so I just want to work around it..well that's my theory.

Matthew

Guide channels can remain in place, but removal does make access to the door handle and lock much easier. With your car having push button handles this may not be a problem - so yes, channels can stay put :wink2:

Cheers
Chris
 
Hi Chris,

Apologies in advance for hijacking your thread, but I think this thread is the best place for it.

I've been asked a few times how to remove the Pallas stainless trim at the top of the door without damage - you need two fine hardened blade screwdrivers and you walk the two along, one over the over while gently prying the trim off. See the pics...

Also - how to drill the pallas holes accurately.

1. Measure all the distances from one end and mark on the new door.
2. You need a carpenters square to set the gap properly with the 5mm drill bit in place.
3. Then using the square scribe the new door in the same position - this is the bottom of the new hole.
4. With the square still in place use the 5mm drill bit to scribe the centre of the new hole.
5. Drill a pilot hole with a 1 or 2mm drill bit.
6. Drill the final hole paying attention to the scribe mark which marks the bottom of the hole. If you drill slowly you can ensure the drill bit does not go beyond this lower mark.

It's the same process for the top pallas holes... also I use m3 stainless cap screws and washers (that slide into the trim) to fit the lower trims. It's easy to adjust them up and down to ensure they align.

Cheers,

Mark....:)

IMG_20150315_155716.jpg
IMG_20150315_155725.jpg
IMG_20150314_145927.jpg
IMG_20150314_145932.jpg
IMG_20150314_150755.jpg
IMG_20150314_150807.jpg
IMG_20150314_151446.jpg
IMAG1445.jpg
 
Last edited:
Guide channels can remain in place, but removal does make access to the door handle and lock much easier. With your car having push button handles this may not be a problem - so yes, channels can stay put :wink2:

Cheers
Chris

Matthew,

You can remove the glass with the channels in place as Chris says - but once you've done that removing the locks and channels is only another 5 minutes work and makes for a neater job - avoiding overspray etc.

Alignment can be preserved by just noting the position of the washers - a zip tie can be used to preserve their locations.

Also - you will be very happy if you replace the nylon guides with new ones, they stop the glass rattling around and make the sealing better against the rubber.

Cheers,

Mark...:)
 
I've been doing a bit of work for Greg and after having a chat decided to give his dash chrome kit a whirl.
Time will tell how long the adhesive lasts in the Queensland climate but as Greg mentioned the original chrome had a limited life and this process is repeatable and/or reversible.

The kit is complete with all stickers required including side vents etc. These are the parts I have finished.

attachment.php


attachment.php


attachment.php


attachment.php


attachment.php


It's really hard to get good shots, I had the car out in sunlight for that last shot but contrast between dark dash and chrome highlights doesn't do justice to the outcome.

This chrome self-adhesive is much thinner than anything I've seen before, the edge is barely detectable. I prepped each part using acetone, any hint of silicon and the adhesive will not stick.

I can see that I'm going to have to pull the dash out and get it refinished, it just looks so daggy compared with the rest of the interior now. I can't readily see how to remove, I'll have to drop the aircon vents out of the way - anyone have any tips, where are the fixings etc.

Once out, the plan is to get it powdercoated in a finish as close to original as is available here in Brisbane, any recommended suppliers?

Cheers
Chris

Gee, that looks brilliant Chris... didn't know you can buy stickers to redo the chrome lines... I stuffed around with silver paint on mine - looks Ok, but I think it might be time to contact Greg and get a set, too. if it is Mark and Chris approved, it must work...

Sven
 
Top