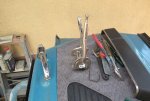
Those door skin pliers look interesting - did you source those locally?
roger
roger

Those door skin pliers look interesting - did you source those locally?
roger
Wow there really cheap.... I just ebayed them and found these too.... Are they the same as yours ??
http://www.ebay.co.uk/itm/DOOR-SKIN...motive_Tools&hash=item2c6898f989#ht_908wt_755
$25 delivered to your doorstep!
seeya,
Shane L.

Thanks for the lead, I will get myself a pair.Eastwoods's in the USA Roger, I couldn't find anything close here in Aus. Pretty good to deal with and quite prompt.
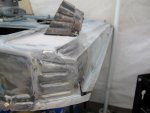
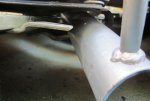
The pliers actually do work really well, they make removing a skin a breeze, without damage to the skin or door frame. Likewise with that rubber crimp on the rear guard, cleanly opens the crimp without damage.
http://www.eastwood.com/
http://www.eastwood.com/door-skin-removal-pliers.html
Cheers
Chris

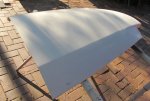
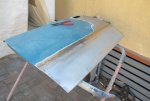
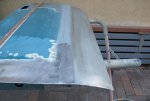
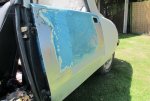
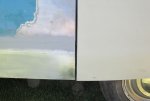
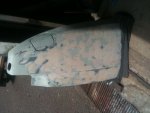
 ... That is amazing! Did you just stretch/shrink the distorted metal as you welded it
 Did you manage to seem weld that entire patch in without rippling the whole door panel
seeya,
Shane L.
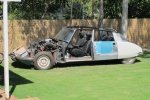
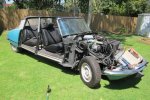
Great thread, and to think it would take all this to replace a starter...
Just as a minor comparison... It took me 4 goes at getting my panels 'half' decent, I had to return to the task two more times after finishing up and dropping the panels after bogging and sanding. They are quite challenging as it is. Yours look great!
I'm toying with repainting mine now to original colour.
Cheers Steven


Just a call out for Fivedoor :headbang:
Who went to extraordinary trouble yesterday to drop off his loan sand blaster gun. I can't wait to give it a blast, just need to swap the air connector over to suit my lines. Don't you just love this forum... :wink2:
Many thanks it will be put to good use, I'll grab some safety gear as suggested before I have a play
Cheers
Chris
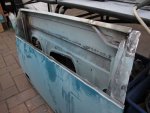
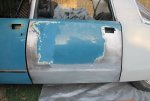
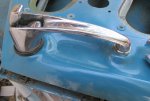
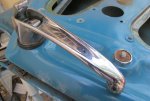
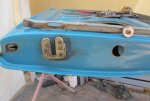
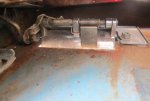
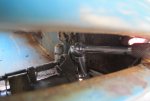
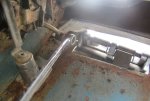
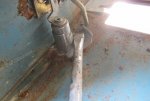
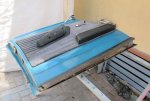
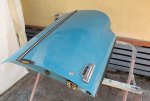
Looking like good progress GB. The pictorial of stripping the door will become a very useful resource world wide!
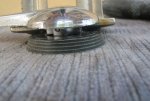
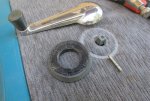
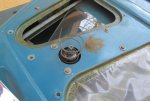
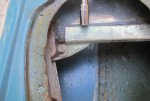
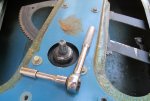
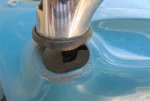
Fantastic to see a good solution to the opening of the glass retaining spring using the steering column tool. It has always been a real source of frustration.
One point I will pick you up on though:
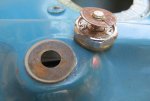
"Internal door handle, undo the large chrome nut N.B. LEFT HAND THREAD!!"
Nope, it is a right hand thread, but your viewpoint is from the "wrong" side so it is a little counter intuitive.
With the sand blaster, don't forget to buy a few kg of baking soda (Bi-carb) too, it really is very useful for delicate items.
Looks good, good luck
Thanks for the show and tell.
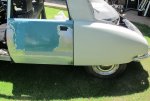
You know I like you car the way it is now, a convertible
Or can I suggest a panaromic roof:headbang::roflmao: