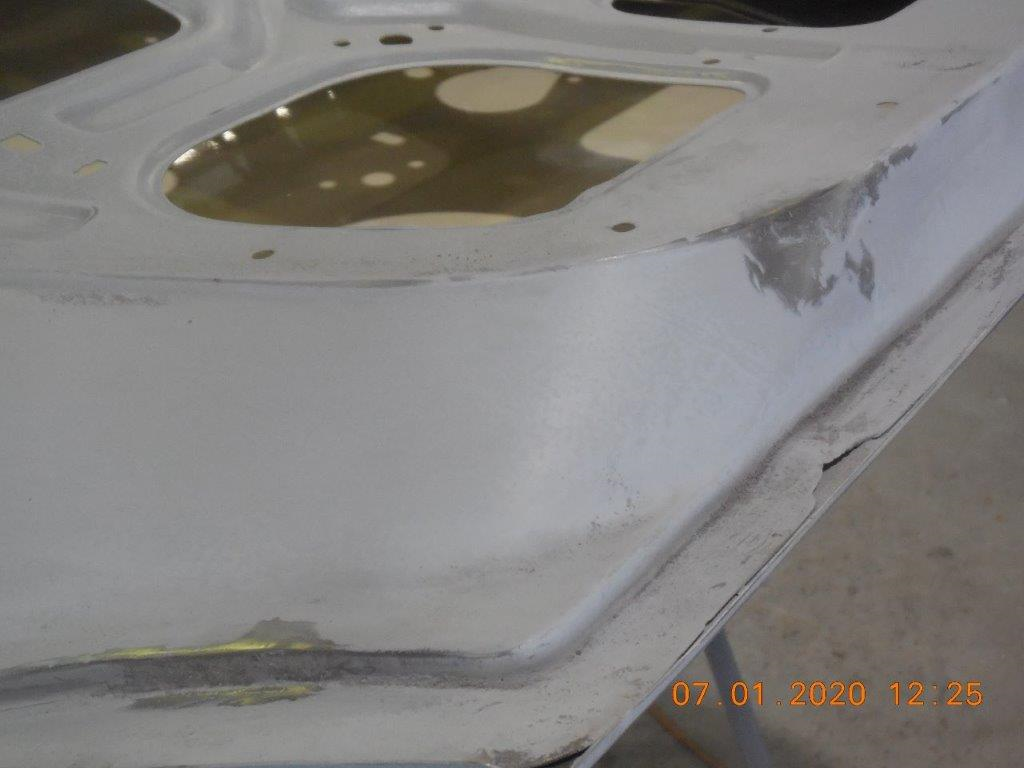
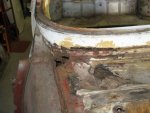
Doesn't help when the panel arrives rusty and can't be buffed.

You are using an out of date browser. It may not display this or other websites correctly.
You should upgrade or use an alternative browser.
You should upgrade or use an alternative browser.
69 404 restoration
- Thread starter Dano
- Start date
Russel,
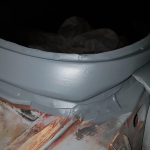
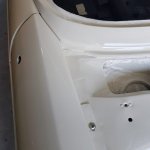
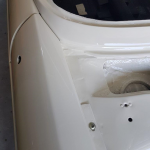
You are right there, i.e. assembly issues. The factory did love seam sealer though. It covered some very ugly joints, especially around the front windscreen and air-vent panels. The panels had some form of red undercoat/oxide protection from new. It (paint/oxide) has been between all the panels and joints, that were either removed or repaired. However, age and a hard life has not helped the old boy.
To help prevent any further break outs, every part of the car has been treated with a product call Rust Masters. My God, you should have seen the mess on the shed floor. The makers claimed that it would leach out everywhere and it did. At least it proved the welded seam drain holes were clear. Where I couldn't gain access, inspection holes were drilled and they were used as entry points. The car was rolled around a number of times on the rotisserie to ensure the coating reached every nook and cranny. And to be extra sure, cavity wax will be applied after everything is back in place.
The body does look a lot better now, compared to some of the horror photos posted earlier in the thread.
Cheers,
Dano
Renault were aware of the problems. The assembly line and electrophoresis improved things (eventually). There was a Peugeot engineer from Paris but he wasn't often on the floor. I thought the last few 404's were a bit rough.
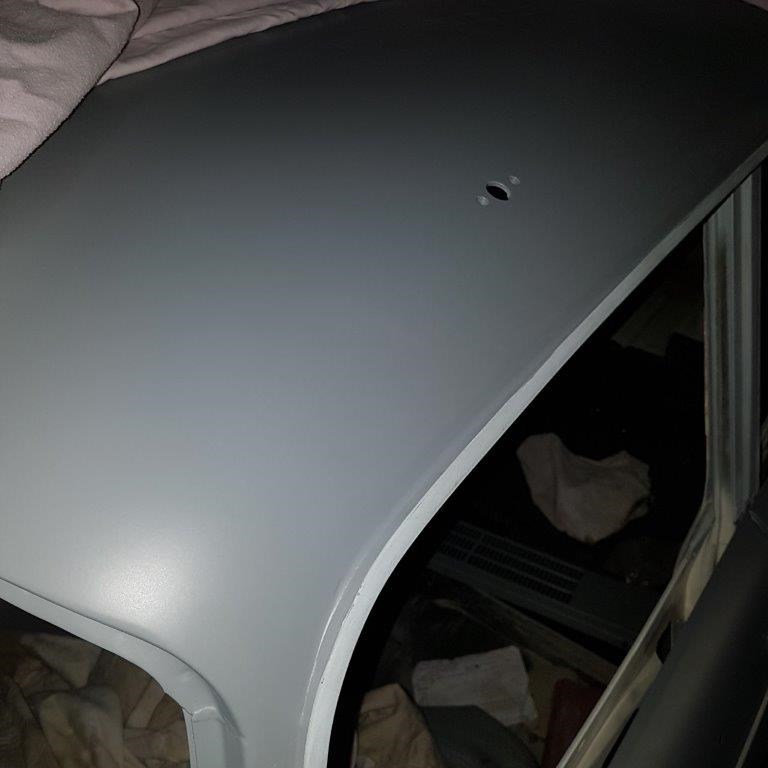
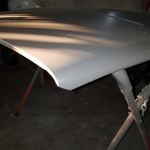
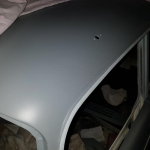
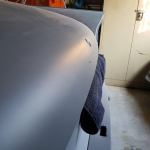
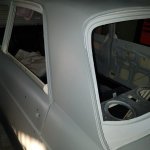
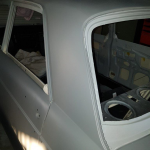
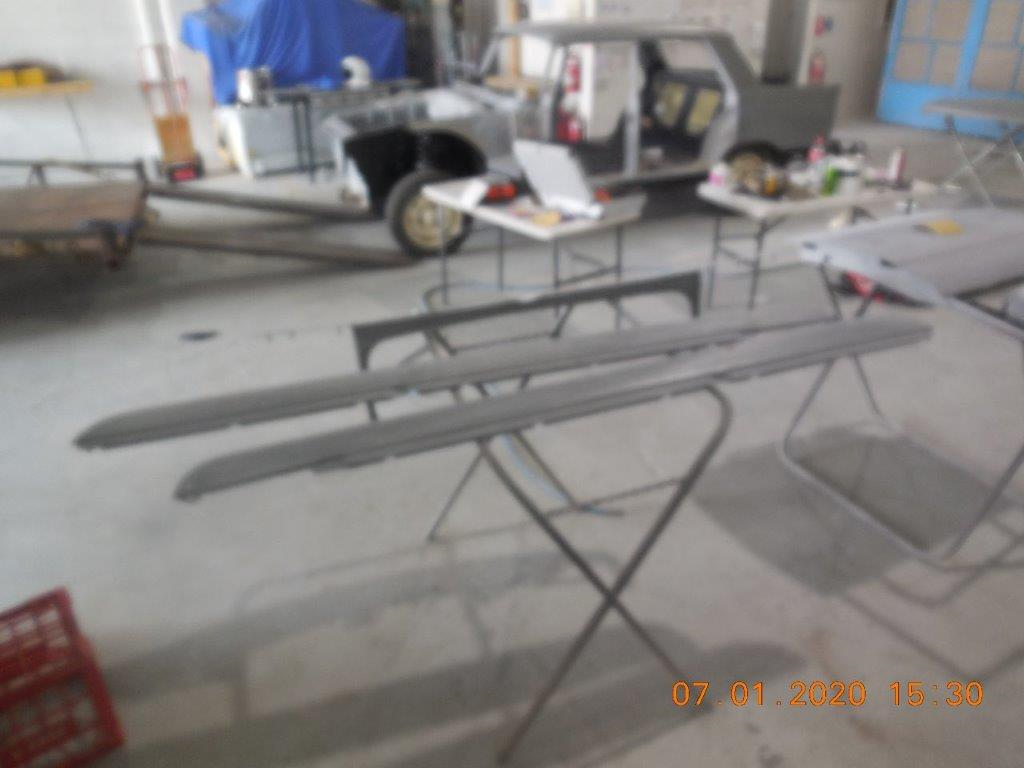
More progress on the weekend.
All the panels that required filler/undercoat have now been done. Some have been blocked back already, but time beat us late on Sunday.
Blocked panels


 (both left and right pillars done)
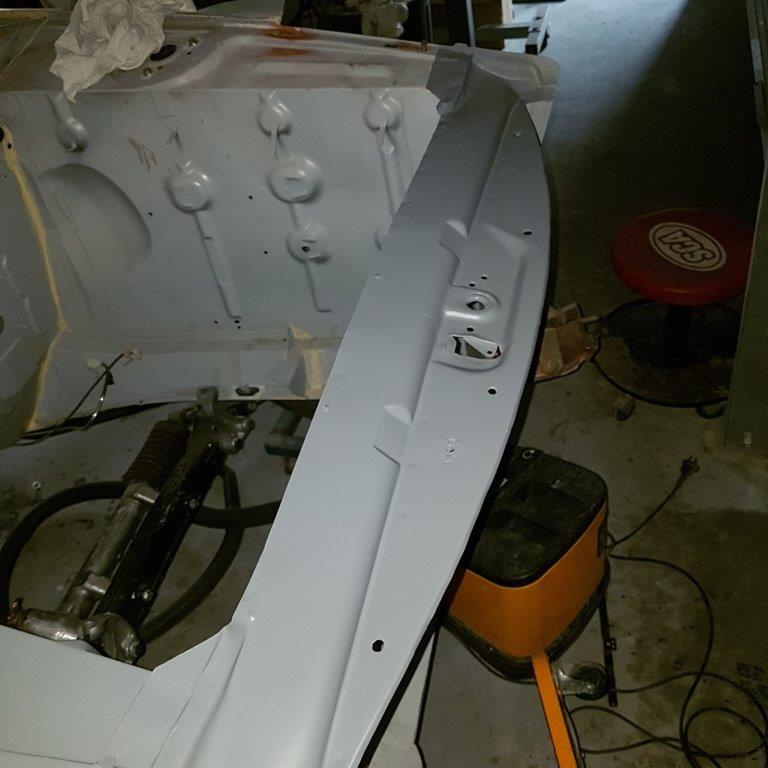
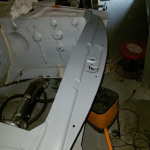
To be blocked back and excess oxide etc removed


Another change to the schedule. The plan now, is to paint engine bay in the shed and then fit the wiring loom, pedal box, motor etc, basically everything within the engine. While I'm doing that, it will give Dan a chance to clear the pre-Christmas rush/backlog at his shop. This will give us a clear run in the spray booth.
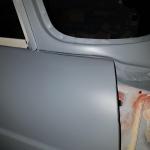
I also have to remove the red oxide which was a little heavy applied around the tops of the inner guards and under the windscreen. It is not difficult, just a pain.
All the panels that required filler/undercoat have now been done. Some have been blocked back already, but time beat us late on Sunday.
Blocked panels
To be blocked back and excess oxide etc removed
Another change to the schedule. The plan now, is to paint engine bay in the shed and then fit the wiring loom, pedal box, motor etc, basically everything within the engine. While I'm doing that, it will give Dan a chance to clear the pre-Christmas rush/backlog at his shop. This will give us a clear run in the spray booth.
I also have to remove the red oxide which was a little heavy applied around the tops of the inner guards and under the windscreen. It is not difficult, just a pain.
Attachments
-
 bonnet.png836.7 KB · Views: 701
 -
 roof.png345.2 KB · Views: 723
 -
 boot.png781.7 KB · Views: 718
 -
 Left rear pillar.jpg101.8 KB · Views: 199
 -
 Left rear pillar.png768.5 KB · Views: 705
 -
 Radiator support.png922.6 KB · Views: 688
 -
 front left screen.png731.5 KB · Views: 715
 -
 right front door and screen panel.png561.7 KB · Views: 712
 -
 left side.png921 KB · Views: 693
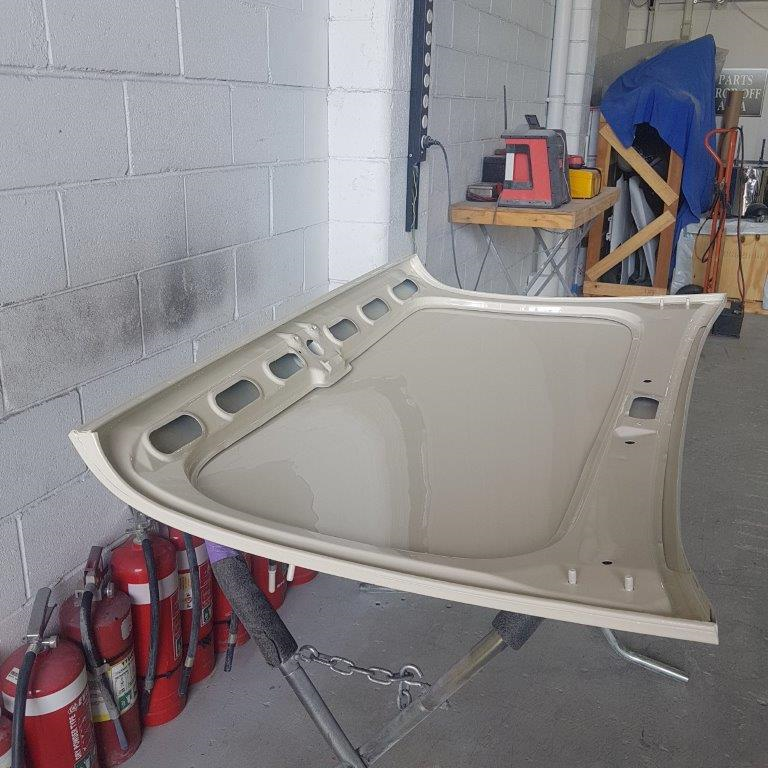
Really nice job on the bonnet rust Dan, it looks as though there was quite of bit of work involved.
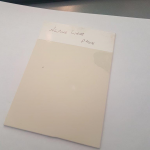
You've probably mentioned this before but what colour is the car to be? Alpine White?
Hi Peter,
Thanks for the compliments on the bonnet. As I have said before, I am lucky to have my daughter's partner working with me. I try and he fixes.
As for the colour, yeah Alpine White of course.
The swatch below was sent to me ages ago, by a fellow Frogger when I was asking about colours.
It is almost a perfect match to my friend's (Kim) car. We used the inside of Kim's boot lid to scan the colour. It is a funny colour, in direct sunshine it is bright white, but in shadows or in the garage it is a creamy colour.

Cheers,
Dan
Attachments
Washers or not
I need some advice please.
Should the big end bearing caps in a 404 engine have washers between the nuts and caps?
The reason I ask, is the two engines that I dismantled didn’t have washers. The factory manual doesn’t mention them, but the spare parts catalogue does.
I just want to check, prior to putting the sump back on.
I’m just doubting my knowledge/judgement.
Cheers
Dano
Mine never had them....
- Joined
- Aug 2, 2000
- Messages
- 11,441
I think only the 403 had them.
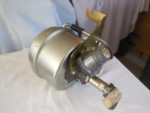
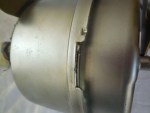
Finally sorted the woes with the Hydrovac brake booster.
As mentioned in an earlier entry, there was an issue with the small brass piston under the air intake diaphragm. Unfortunately, the system would hold pressure. It was stripped down and re-assembled to ensure everything thing inside was correct. All looked OK, but it still would not hold pressure.
Knowing when to admit defeated, advice was sort from Darren at Stop Masters. He had the equipment to be able test the system dry and with fluid in it.
The good news is that it is now working perfectly. The problem was caused by me, using a series of punches to remove and replace the diaphragm housing. During this process, the lugs/tags were bent, which meant that there was not a perfect seal between the two housings, and diaphragm, which caused the pressure leak.
To solve the problem, the outer housing (one with the locking tabs) was removed and the tags were straightened and the mating surface machined smooth. This solved the problem and now the Hydrovac works as it should.
A classic case of, a little knowledge is dangerous.
Attachments
Yes, the Hydrovac rebuild manual says to unscrew it with a huge leather belt! I destroyed the original (crappy) one the same way. But I have a NOS one to rebuild now.
Mike,
I made one of those strap things, as per the manual and it just wouldn't budge it. Not having a chain vise big enough, brut force was employed. Ah well, you learn from your mistakes.
Cheers
Dan
I made one of those strap things, as per the manual and it just wouldn't budge it. Not having a chain vise big enough, brut force was employed. Ah well, you learn from your mistakes.
Cheers
Dan
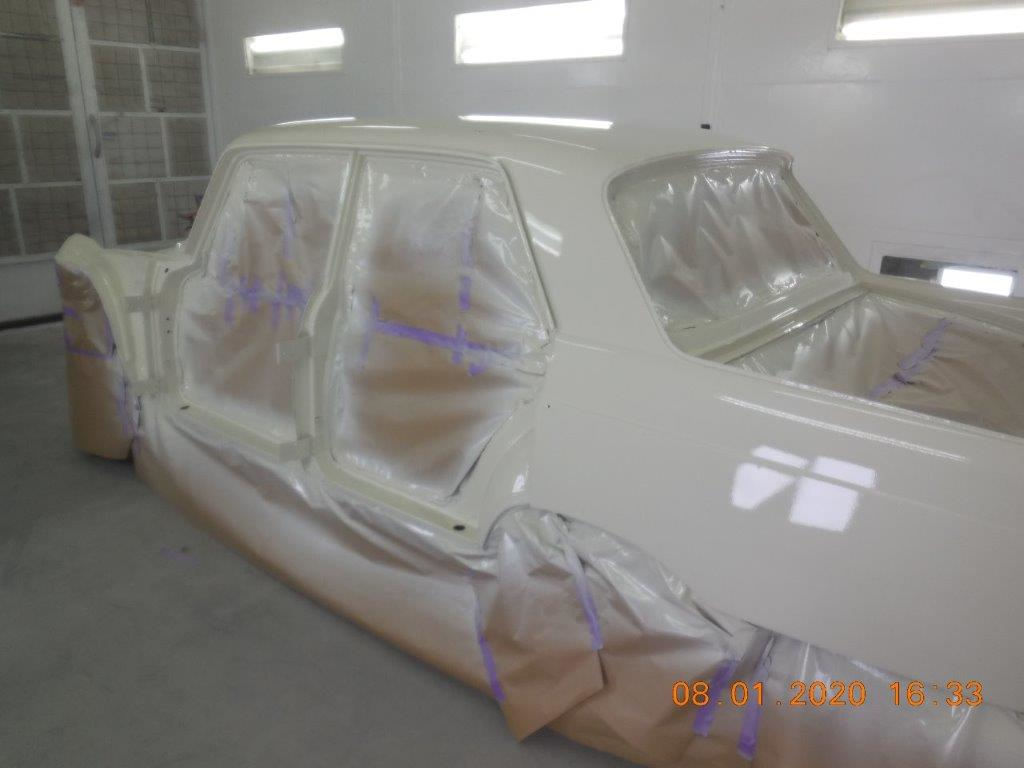
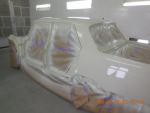
Took Keith to the panel shop today.
https://youtu.be/hgkx64UeKPI
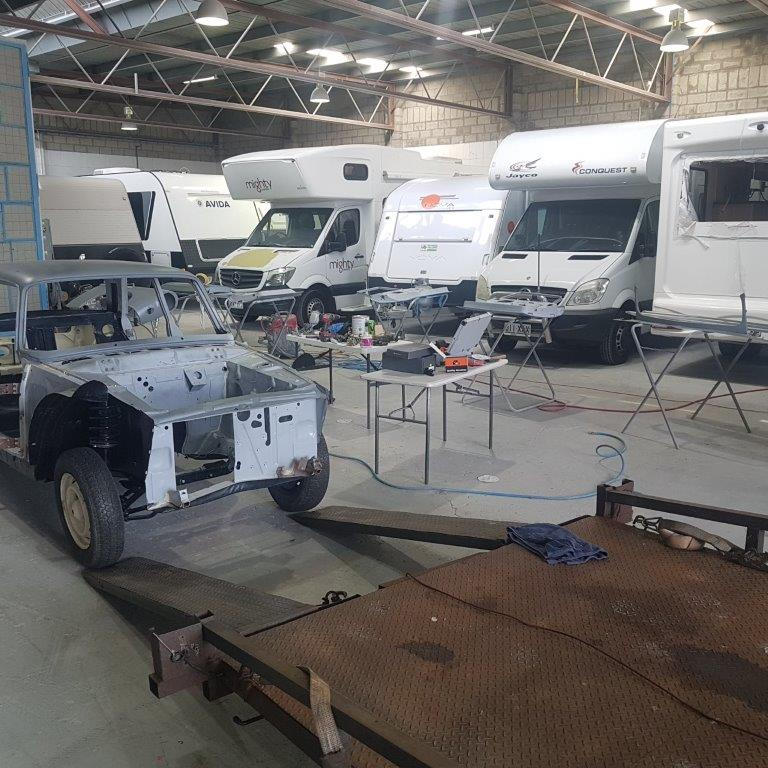
The day was spent blocking panels and doing minor touch up repairs. It is interesting to see what you see/missed in a different (Panel shop) light setting.
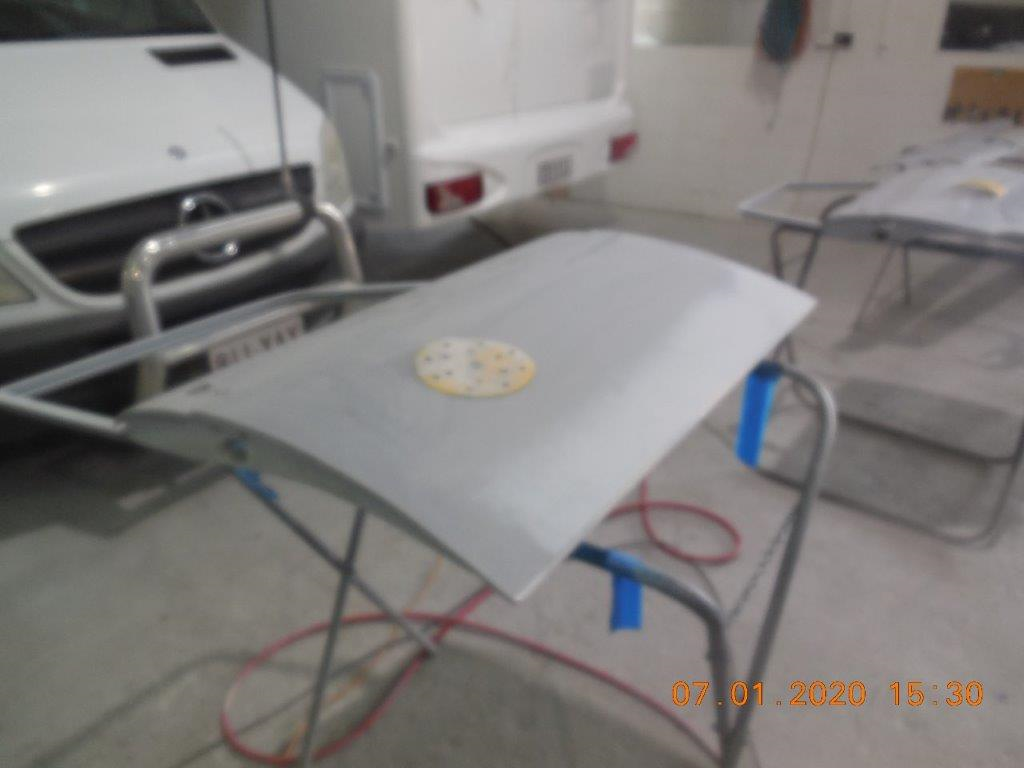
After today’s efforts, all the panels are ready for hanging in the spray booth first up tomorrow. While they are drying etc., the body will be prepped for painting. All things being fair and equal, it should be paint late in the afternoon.
The inside of the boot lid was painted first, as a final colour check.
Sorry about the quality of the photos, forgot to change the settings.
https://youtu.be/hgkx64UeKPI
The day was spent blocking panels and doing minor touch up repairs. It is interesting to see what you see/missed in a different (Panel shop) light setting.
After today’s efforts, all the panels are ready for hanging in the spray booth first up tomorrow. While they are drying etc., the body will be prepped for painting. All things being fair and equal, it should be paint late in the afternoon.
The inside of the boot lid was painted first, as a final colour check.
Sorry about the quality of the photos, forgot to change the settings.
Attachments


Last edited:
beautiful!
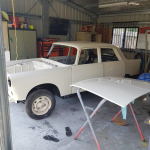
It has been a successful couple of days.
Wednesday
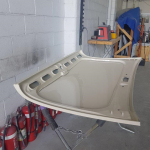
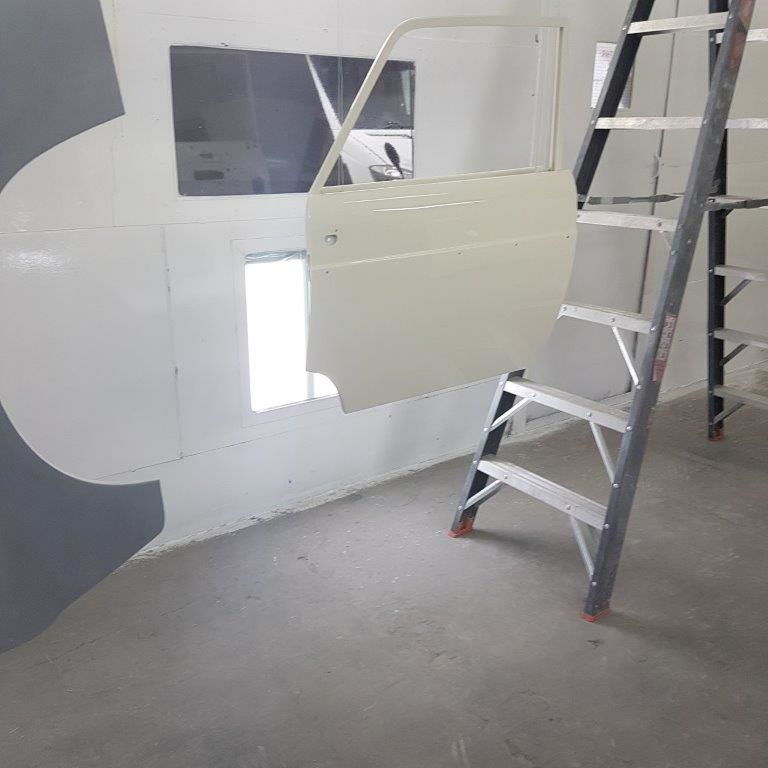
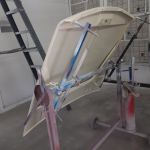
First part of the morning was spent painting the doors, bonnet guards and boot lid.


https://youtu.be/VeyhJYwMrig
This was followed by a few hours of blocking, rubbing and a few final touch ups prior to paint.
https://youtu.be/OcOPyVmiLxE
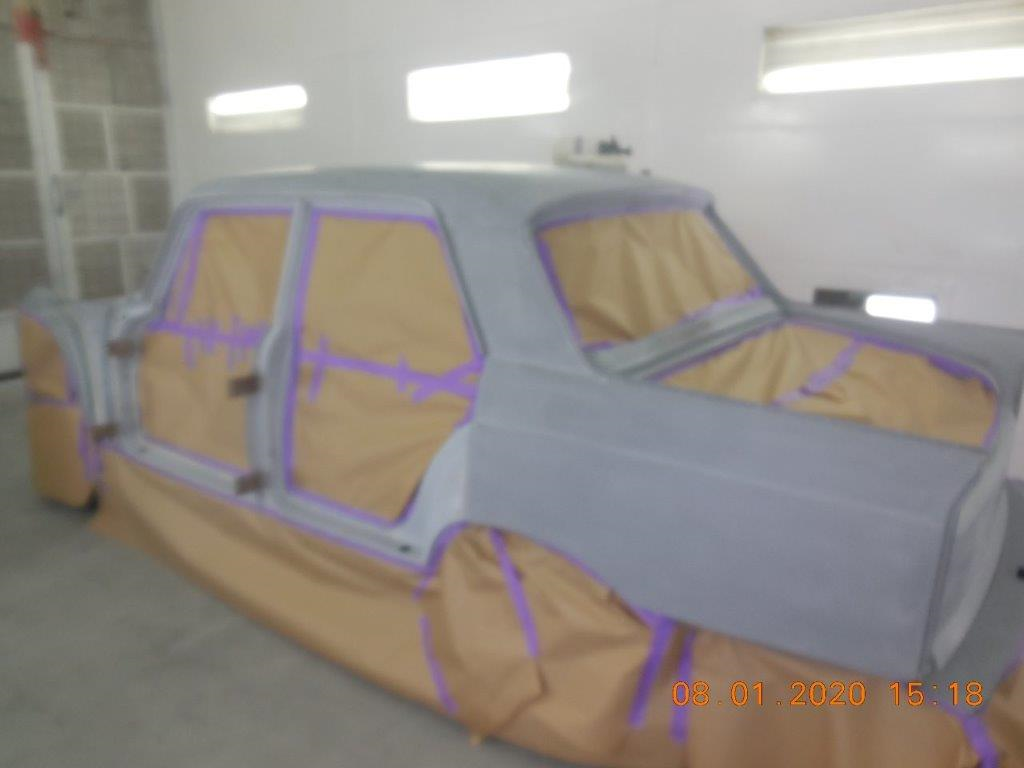
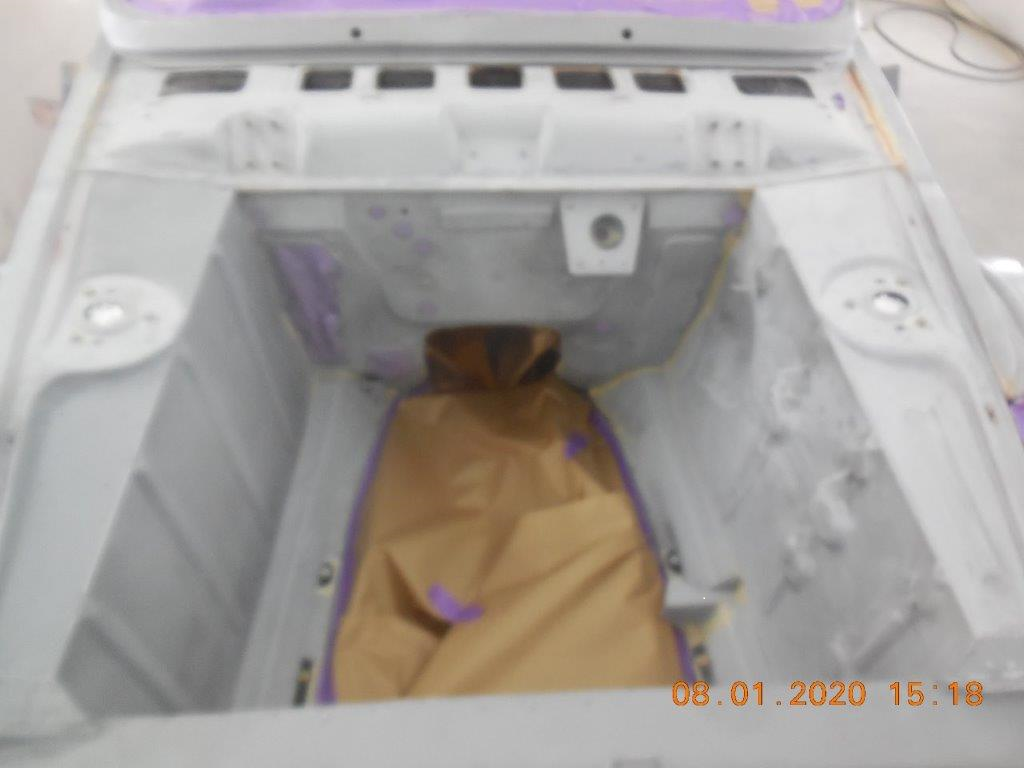
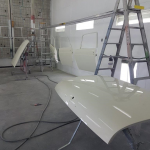
About mid-afternoon, the shell was rolled into the booth and the final prep was done prior to painting. All the openings were sealed with brown paper. Last bits of seam sealer were applied and smoothed for painting.
https://youtu.be/B7aHEdmqLGc
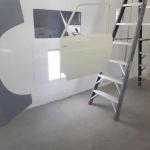
Finally the painting of the shell.

https://youtu.be/-m7h0vHcByo
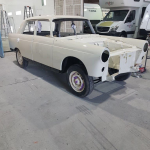
Today.
Keith was returned back home this morning. Time beat us in the paint booth, so a few small jobs still need to be done at home. Headlight rings, bonnet hinges things like that. All the major panels etc. are painted.


It has been a long time coming.


Now the reassembly process can start in earnest. Basically, it is just a case of bolting it all together. If only it is that easy.
Cheers,
Dan
Wednesday
First part of the morning was spent painting the doors, bonnet guards and boot lid.
https://youtu.be/VeyhJYwMrig
This was followed by a few hours of blocking, rubbing and a few final touch ups prior to paint.
https://youtu.be/OcOPyVmiLxE
About mid-afternoon, the shell was rolled into the booth and the final prep was done prior to painting. All the openings were sealed with brown paper. Last bits of seam sealer were applied and smoothed for painting.
https://youtu.be/B7aHEdmqLGc
Finally the painting of the shell.
https://youtu.be/-m7h0vHcByo
Today.
Keith was returned back home this morning. Time beat us in the paint booth, so a few small jobs still need to be done at home. Headlight rings, bonnet hinges things like that. All the major panels etc. are painted.
It has been a long time coming.
Now the reassembly process can start in earnest. Basically, it is just a case of bolting it all together. If only it is that easy.
Cheers,
Dan
Attachments
-
 tu1.png812.8 KB · Views: 779
 -
 tu2.png809.5 KB · Views: 753
 -
 pp1.png967.7 KB · Views: 804
 -
 pp2.png650.6 KB · Views: 772
 -
 pp3.png850.6 KB · Views: 733
 -
 p1.png854.3 KB · Views: 747
 -
 p2.png894 KB · Views: 709
 -
 day3 1.png1 MB · Views: 723
 -
 day3 3.png944.6 KB · Views: 759
 -
 day3 2.png1.2 MB · Views: 747
 -
 day3 4.jpg71.9 KB · Views: 180
 -
 rust.jpg79.3 KB · Views: 196
 -
 rust2.png600.6 KB · Views: 717
 -
 day3 4 5.png531.8 KB · Views: 717
Last edited: