Outstanding work! Now it's just a matter of re-assembly! ")

Help to identify which one?Good work!
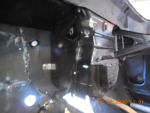
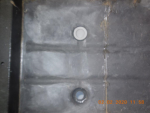
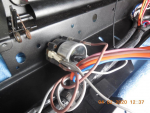
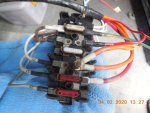
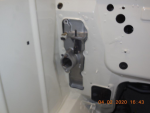
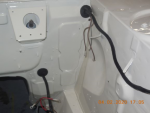
So this little valve was in the rear line only? I of course don't have front discs so mine looks different (shorter) and so I believe mine is just a splitter and nothing else.

Good work!
So this little valve was in the rear line only? I of course don't have front discs so mine looks different (shorter) and so I believe mine is just a splitter and nothing else.
Help to identify which one?
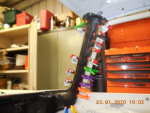
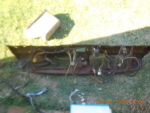
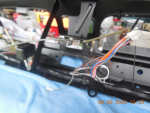
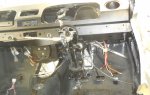
I have to header pipes ( neither are labelled), but not sure which one to use. According to the parts manual, my '69 should have three mufflers. If this is correct, I guessing the shorter pipes is the correct one.
Also would the longer leader pipes create a better exhaust flow?
Top one is for 504, won't fit 404
Appreciate any feed back.
Cheers,
DanoView attachment 120045
Sent from my SM-G930F using aussiefrogs mobile app