
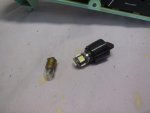
My 1970 404 ( Oz assembled ) had a little aluminum tag put on the diff, I think by Regan’s, instructing only to use Castrol R
I presume that a variety of oils would dom as discussed above, but this may have been an attempt to minimise error by recommending something that was well understood and still relatively easily available at that time.
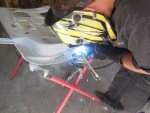
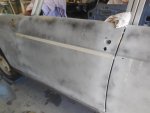
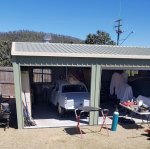
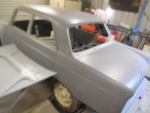
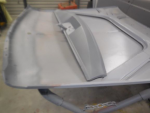
Wonderful t see him bacl on his wheels, will be an awesome finished job
Congratulations
Andrew
I presume that a variety of oils would dom as discussed above, but this may have been an attempt to minimise error by recommending something that was well understood and still relatively easily available at that time.
Wonderful t see him bacl on his wheels, will be an awesome finished job
Congratulations
Andrew


