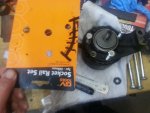
This fellow says 95×23mm, front/rear:
Citroen Restoration - Citroen DS - View Restoration Area
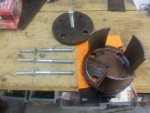
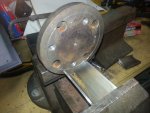
It doesn't take into account, the front sphere spacer located only on the steering side.
Citroen Restoration - Citroen DS - View Restoration Area
It doesn't take into account, the front sphere spacer located only on the steering side.