My 404C resto begins!

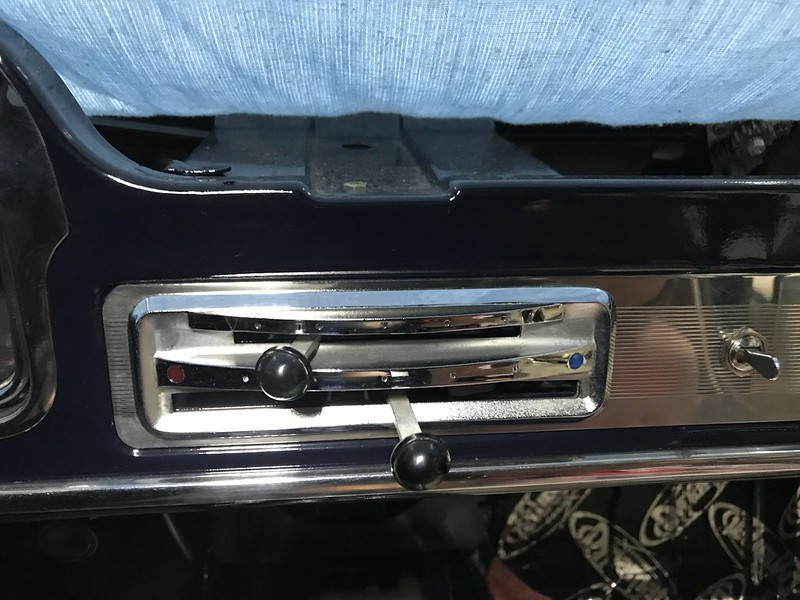
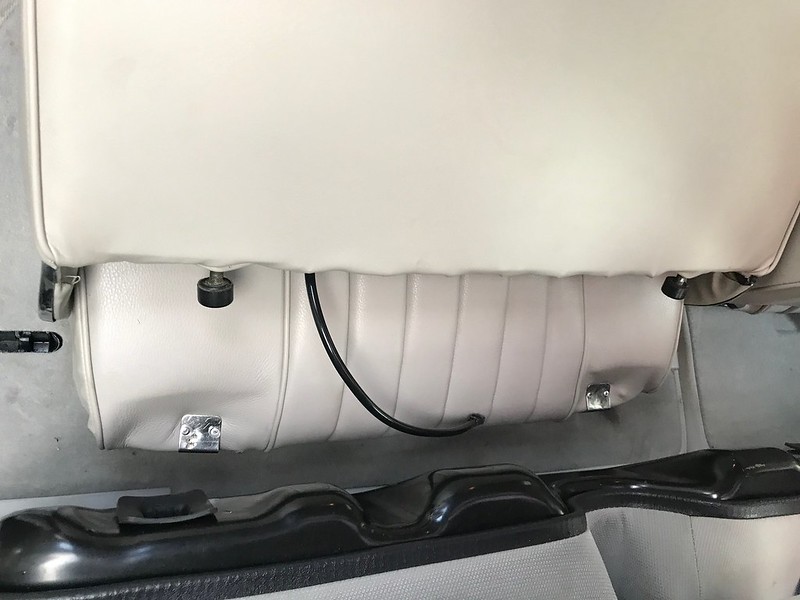
Power line for the seatback, and the little black screws that can be used to adjust backrest angle (not on the fly of course)!
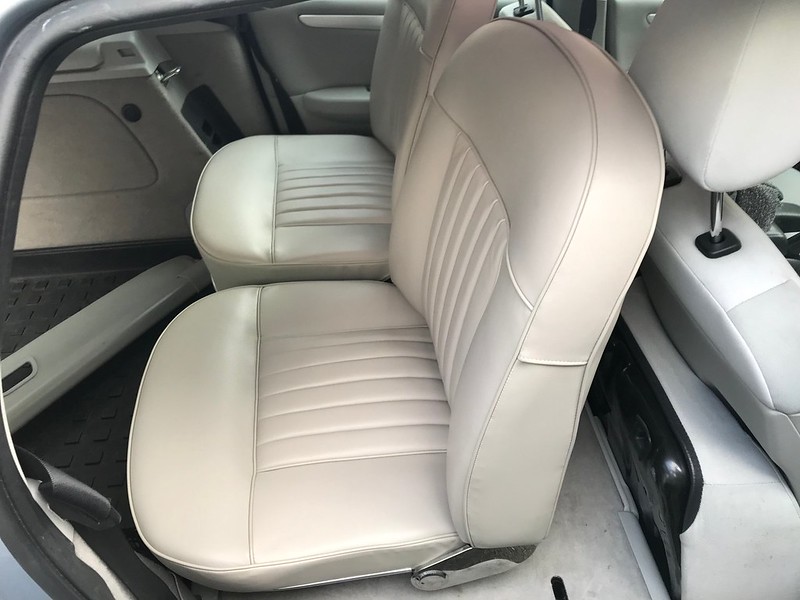
33691764168_07123dc50e_c.jpg


Side view..
33691764178_6abce2d0eb_c.jpg


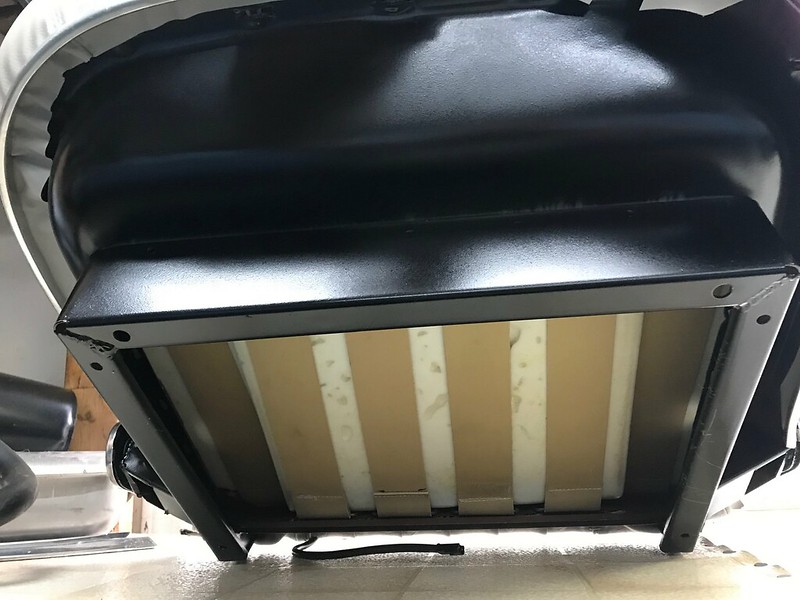
Underneath - one of the seat frames needed welding and then they were blasted and painted black. You can see the new elastic straps under the seat, the porous foam and the other power line for the seat cushion heater. The heater kit only cost me an extra $100 CAD.
47515602472_b5a1bfb7da_c.jpg
 
I whipped the Kugelfischer injection pump and head off today.* I'll bring the pump with me to Britain next week for calibration and new seals, and the head seems good with no fine cracks between valve seats, although I have a new one to use.* The liners have a nearly undetectable lip at the top so could be reused, but won't be, because I have new ones.

46757438845_6c7541085a_b.jpg


47620427152_0f8a40cec4_b.jpg
 
Mike, good to see you’re doing a complete motor rebuild. In the end, you know exactly what you have. No, if only I had moments...
cheers
Dano
 
Last edited:
My Kugelfischer KF2 injection pumps - the one from the car is second from left.
47719227681_9265872e0a_c.jpg


The stainless steel trims from front and rear windscreens as well as the back of the roof buttresses.
33842201878_65e5d6cde6_c.jpg


Rear bench seat in light grey leather.
40752894123_19c9680335_c.jpg
 
Last edited:
The stainless steel trims are now mounted on the replica inner door and rear seat area upper side panels...
48391618746_52b62b8ab7_c.jpg


right quarter window installed:
48391629261_5e6c8ba749_c.jpg


and the left one :*
48391770107_1f647b8541_c.jpg
 
Bit by bit, and it is getting there.
 
hi Mike, Butchart gardens was nice,whale watching.....I should have been looking at your car instead,a much better visual.i know its not the same as being there but your posts are great..keep up the good work........jim
 
48400542787_fe5bd6aff4_c.jpg


I had to drill two new holes in my brand new rear fender to mount the stainless steel trim at the peak of the rear fender.* Stressful!* I broke a small drill bit but didn't damage any visible part of the fender.* So*it worked well and now only the left side remains to be done.
 
The left rear guard peak trim is also on and now the rear roof trim as well. The clips that hold the trim on have teeth that bite into the body seam so all were treated with a thick goop of Waxoyl before installing, to protect the metal.

48572597787_69e76fcb09_b.jpg
 
48662342051_5337bf5a83_c.jpg

I mounted the sill trims (stainless steel) yesterday.

48661969023_4fc0cb6ca7_c.jpg

And today I retrimmed the driver's door panel in vinyl to match the seats. It turned out well, despite me being an amateur.

Next: passenger side....
 
The other side's done. The little black dot marks a puncture where the fixing screw for the passenger grab handle will go. This side had more "home repairs" done on it by previous owners, with no fewer than seven holes in the stainless steel trim. The 4 at the extreme ends of the long pieces will have screws in them, but the other three have been blocked off by gluing a small screw head into each (the shanks were cut off). Tomorrow I will aim to do the last quarter panel in vinyl and that should only take about an hour or less. These door panels were very time-consuming, 7 hours each.
48696787163_6f02f34b3b_c.jpg
 
Great work Mike.

There is no better feeling, than doing something you have never done before and pulling it off. Well done!

Cheer

Dano
 
48905961023_6441acfc62_c.jpg

Heater controls mounted - all silver cadmium plated

48906685842_36ff66930d_c.jpg

Both rear quarter panel trims were mounted.

48906606002_28581153d0_c.jpg

New headliner mounted.* Front part is not mounted because the windshield has to go in first.* That's one of the next tasks: front and rear windshields.
 
Very nice! The trim sets them off.
 
Seat sides (NOS) hand painted in Krylon semi-gloss after tidying up.
48966066507_5700277e7e_c.jpg


Upper door replica panel for a Cabriolet modified by me to fit the Coupé and it worked reasonably well. The shape difference is quite remarkable and quite a bit of work was needed.
48965340168_9d50e3dfe7_c.jpg


The panel completely installed, taken from inside the car with the door closed.
48965341318_e066b6f806_c.jpg
 
Thanks for moving the thread. Right now I am working on brake lines and cylinders, not having enough time to do the other door panel. That will come soon.
 
I used this new S.U.R.&R. PFT409 brake flaring tool.....
49113372787_a4eee4d250_b.jpg


....to make my first ever brake line:
49113372362_1fc1590043_b.jpg


And wow is that tool ever amazing! Perfect DIN bubble flare every time. The pistol grip tool is hydraulic. Expensive but worth it if only for the knowledge that I can't mess up.

This line is the one that connects the two front Thermostable brake cylinders.
 
Top