This will probably be a tale of many frustrations and skinned knuckles!
I had a previous post on Aussie Frogs called “So many questions” and several members contributed many useful answers before the thread was lost in the Great Calamity of 2010.
This is not my first Citroen D model. I had several second hand ID19’s in the late sixties and early seventies. At that time parts (and hydraulic fluid!) were not always readily available but somehow I managed to keep them on the road and did a fair bit of work including a clutch change but in those days the cars were still quite low mileage and not much went wrong. The DS was still being sold new! Rust was certainly never something that worried me.
I loved the cars because I was doing a lot of country miles and there was really nothing on the road that would match the D’s long distance, rough road capabilities together with safety, economy and comfort. I was also in the antique trade and a Safari would carry immense amounts of stock.
Anyway, now I am 59 years old and decided I needed “something to do” so I looked for a DS to restore. I looked at many that looked OK cosmetically but clearly were heading for the time when they would need a full strip down. I also saw cars where someone else had already done all the work.
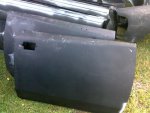
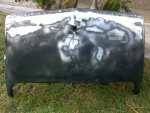
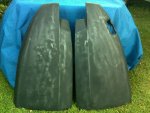
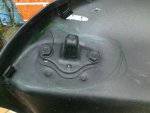
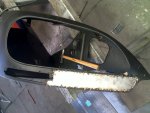
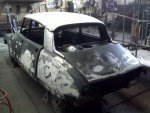
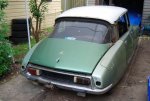
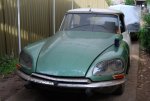
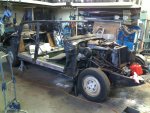
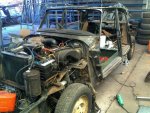
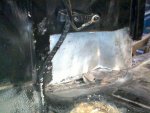
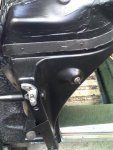
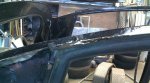
Here is the car I found.... I think the previous owner had bought it as a parts car and then decided that it was too good to wreck having partly dismantled it. At least it had most of the specs I was looking for... 1973 DS23 Pallas carburetor model with 5 speed manual. The car has been off the road for ten years. It runs and rises but clearly needs a lot of work. Strangely it has at some time been fitted with a DS21 motor but maybe that is no bad thing?
[FONT="]So, I started work in earnest on this car a month ago. Any bets on how long it will take to get back on the road? It would be nice to finish before I am sixty next June
[/FONT]
I had a previous post on Aussie Frogs called “So many questions” and several members contributed many useful answers before the thread was lost in the Great Calamity of 2010.
This is not my first Citroen D model. I had several second hand ID19’s in the late sixties and early seventies. At that time parts (and hydraulic fluid!) were not always readily available but somehow I managed to keep them on the road and did a fair bit of work including a clutch change but in those days the cars were still quite low mileage and not much went wrong. The DS was still being sold new! Rust was certainly never something that worried me.
I loved the cars because I was doing a lot of country miles and there was really nothing on the road that would match the D’s long distance, rough road capabilities together with safety, economy and comfort. I was also in the antique trade and a Safari would carry immense amounts of stock.
Anyway, now I am 59 years old and decided I needed “something to do” so I looked for a DS to restore. I looked at many that looked OK cosmetically but clearly were heading for the time when they would need a full strip down. I also saw cars where someone else had already done all the work.
Here is the car I found.... I think the previous owner had bought it as a parts car and then decided that it was too good to wreck having partly dismantled it. At least it had most of the specs I was looking for... 1973 DS23 Pallas carburetor model with 5 speed manual. The car has been off the road for ten years. It runs and rises but clearly needs a lot of work. Strangely it has at some time been fitted with a DS21 motor but maybe that is no bad thing?
[FONT="]So, I started work in earnest on this car a month ago. Any bets on how long it will take to get back on the road?
It would be nice to finish before I am sixty next June [/FONT]


 :wink2: