My 404C resto begins!

42986060534_a3b386c120_c.jpg


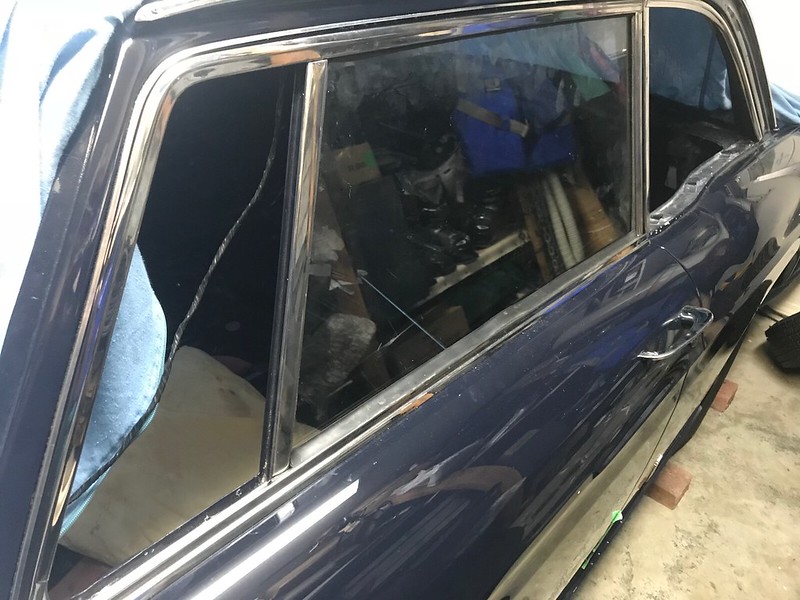
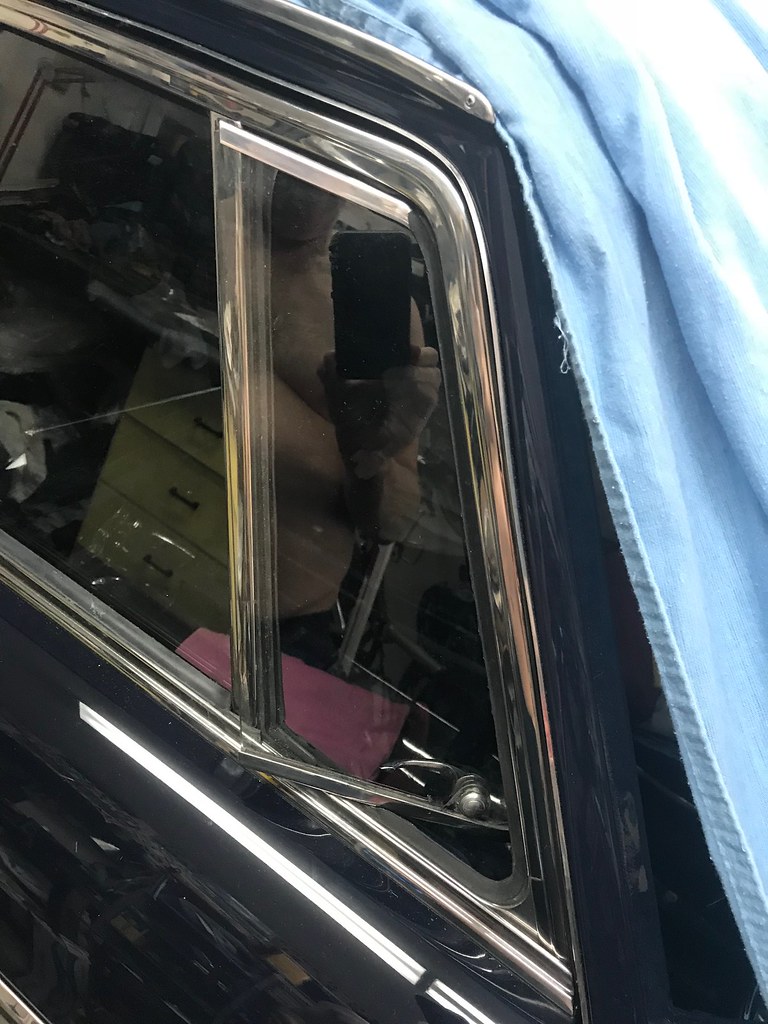
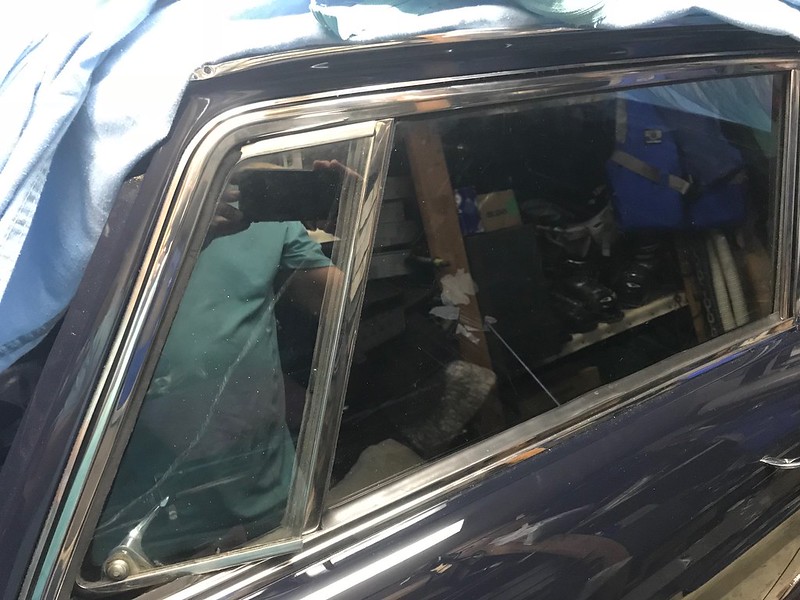
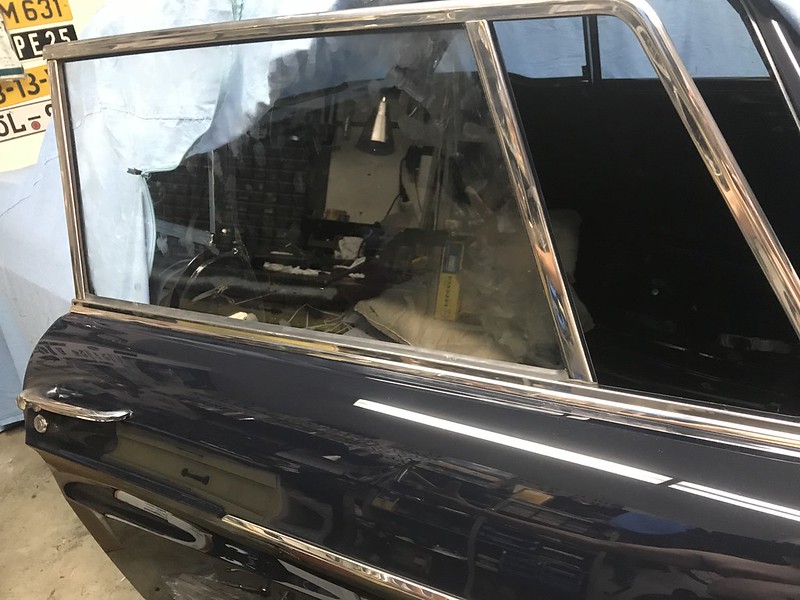
What a fun day! OK not really. I managed to get the passenger door lock installed and working, something that eluded me last time. Then I put the side glass in and tried rolling it up, and the cables were binding on the winding drum so it would not go up more than halfway.

Recognizing that the previous installation was not done properly*:(*
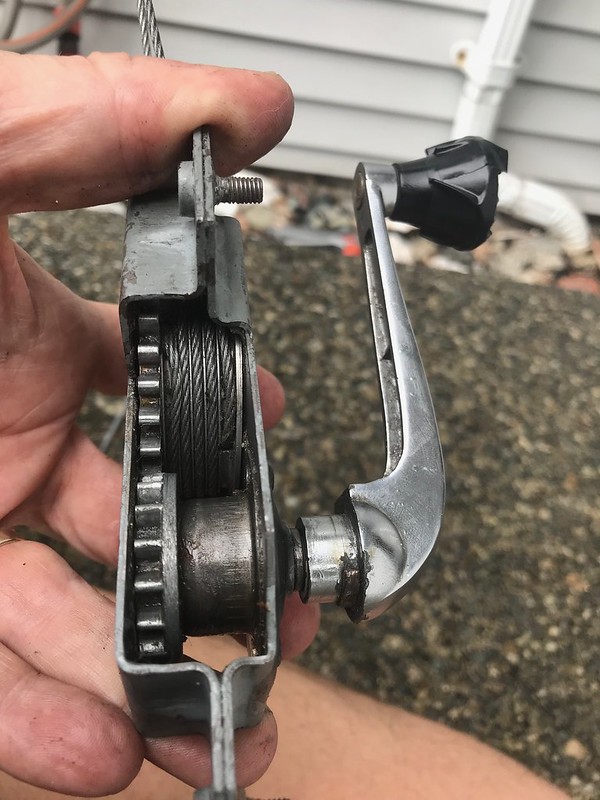
, I had to take it out. The drum that has the cable windings on it was a total mess, a rat's nest of tangles. I spent about 90 minutes*doing random stuff to it like un-looping cable, not fully knowing what I was doing. But in the end I got the drum wound properly - one end of the cable on one side of the drum and the other end on the other, with five windings of cable over the drum in between. Holding it carefully I reinstalled it in the door and then installed the glass again (1 hour's work there) and it works!

Driver's door next.....
 
When I reinstalled the cables on my 504 cab I set up the cable on the drum then wound masking tape to keep it in place then pulled the tape off once it was all in place with tension on the cables .
 
Great idea!

This particular winder was given to me by someone else so it had been tangled badly before I owned it. I may have to double check the driver's side before attempting to install the glass.
 
A week ago I put the upper stainless steel trims (freshly polished) on the rear 1/4 windows. The clips that hold them on are not spring steel but rather have to be bent into shape. While doing this, the screwdriver slipped and I did some unintended surgery on my left index finger joint, grinding into the nerve. Getting better now but it was quite nasty, The car was uninjured, most importantly!

28957223177_24ea6923ab_b.jpg


Last week I got the matching 12V oil pressure gauge!* Now they all need a cleaning and I have to make up a plate to mount them (and 5 warning lights too).

43955754382_2234d94c88_b.jpg
 
Picture tells a thousand words.
 
29769103237_0c57704d04_c.jpg


43797069525_bab81a63d8_c.jpg


I was dreading removing for the second time the driver's side window winder cables to reseat them properly. It went reasonably well. As did the installation of the window tracking. The nightmare was installing the interior door opener - getting the clip on to the door latch, blind and inside the door was "fun". I also installed the door lock. Installing the glass is a pain too. Ugh, glad it's over.
 
31125496268_3d2c5e1e7c_b.jpg

Installed passenger side vent window with the new gasket....

30061973057_dbb4f5e8b9_b.jpg

Record rear dampers installed. Wish I could get Peugeot rears but I can't...

44279136674_2b7a53f871_c.jpg

Driver's side vent window installed with new gasket

31125493878_46cf6b65a1_c.jpg

Lower rear 1/4 window trim installed - had to drill my new panels to make that happen :eek:
 
Been kinda thinkin' Mike. For the benefit of us overseas folks, what are the chances of a little video of the 404C being driven for the first time?
 
31190588958_5b608b2033_c.jpg


Thanks to Harm (that's his nickname!) in the Netherlands for finding these original Jaeger sports instrument panel warning lights! I just got them today. L to R:

- low fuel pressure (KF/KF2 engine)
- low brake vacuum / low brake fluid level
- low oil pressure
- main/high beam warning light
- turn indicator warning light

Now all I have to do is make a panel to hold the 6 gauges and these lights, paint it....oh and rebuild all the instruments, which likely need a refresh.
 
He is a good man Mike!
 
Today I got the beltline trim installed on the driver's side.

With some help: my youngest daughter put the nut that holds the rearward part of the front fender trim on - that is only accessible with the front door opened about 45 degrees, because even like that, there is about 3 mm of space to play with to get the sucker spinning on the captive bolt that's attached to the stainless steel trim. All other connections are easy. My other daughter did the passenger side a couple of months ago. My fingers are too big to get in there properly!

43355551590_1da1c37143_b.jpg


31295962728_b742684e3c_b.jpg
 
Some recent work on the 404C, last weekend and just today:


46138966111_b6e906c67a_b.jpg


Clearcoat on the Carrosserie Peugeot plate.


45227665645_e4d9ae2b10_b.jpg


For reassembly, I used the original insulation as a template to cut Dynamat Xtreme panels, mounted the Dynamat and then glued the original insulation to it.


45415199564_0a499b6f4c_b.jpg


Heater core with the ancestor of modern "set and forget" heat level - thermostatically controlled water valve.


46138965281_7ec58c019d_b.jpg


Heater core box is mounted in the car with new foam to seal between the air intake in the bodyshell and the bakelite box.


44322354040_55f168714c_b.jpg


Wiper mechanism mounted - both spindle assemblies are brand new.
 
It’s coming together nicely Mike.
 
45429007954_ab2e109dee_b.jpg


The spray nozzles also were added. Trivia about the 404C is that you really have to take the heater box out to get these puppies screwed into the panel at the base of the windshield. So I took the heater box that I had just bolted in back out again (3 minutes work), installed the jets and then reinstalled the heater box.

You can imagine that it's not a fun job if the car is all together!
 
31597716287_a99c57da05_c.jpg


When the 404C goes back on the road, it will be with this - its original instrument panel. I tidied it up yesterday - took it apart, cleaned it, repainted the fuel tank and temperature gauge needles. The car was sold when new in Canada, hence the MPH speedometer. The 120 MPH scale was particular to the Injection version. The car came with an alternator so the "battery" gauge is a thermal voltmeter.

The sports instrument panel I have the equipment for will go in once the car has been on the road for a while.
 
Top