The scrap metal hoist thread.

DoubleChevron

Real cars have hydraulics
Moderator
VIP Paid Subscriber
Fellow Frogger
Joined
May 8, 2000
Messages
22,385
Location
Ballarat,Vic,Aust.
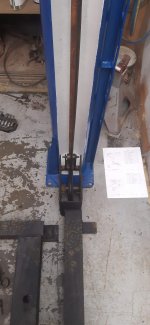
A few weeks back I eagerly scooped myself up some scrap metal masquerading as a 4post hoist on facebook marketplace.

index.php


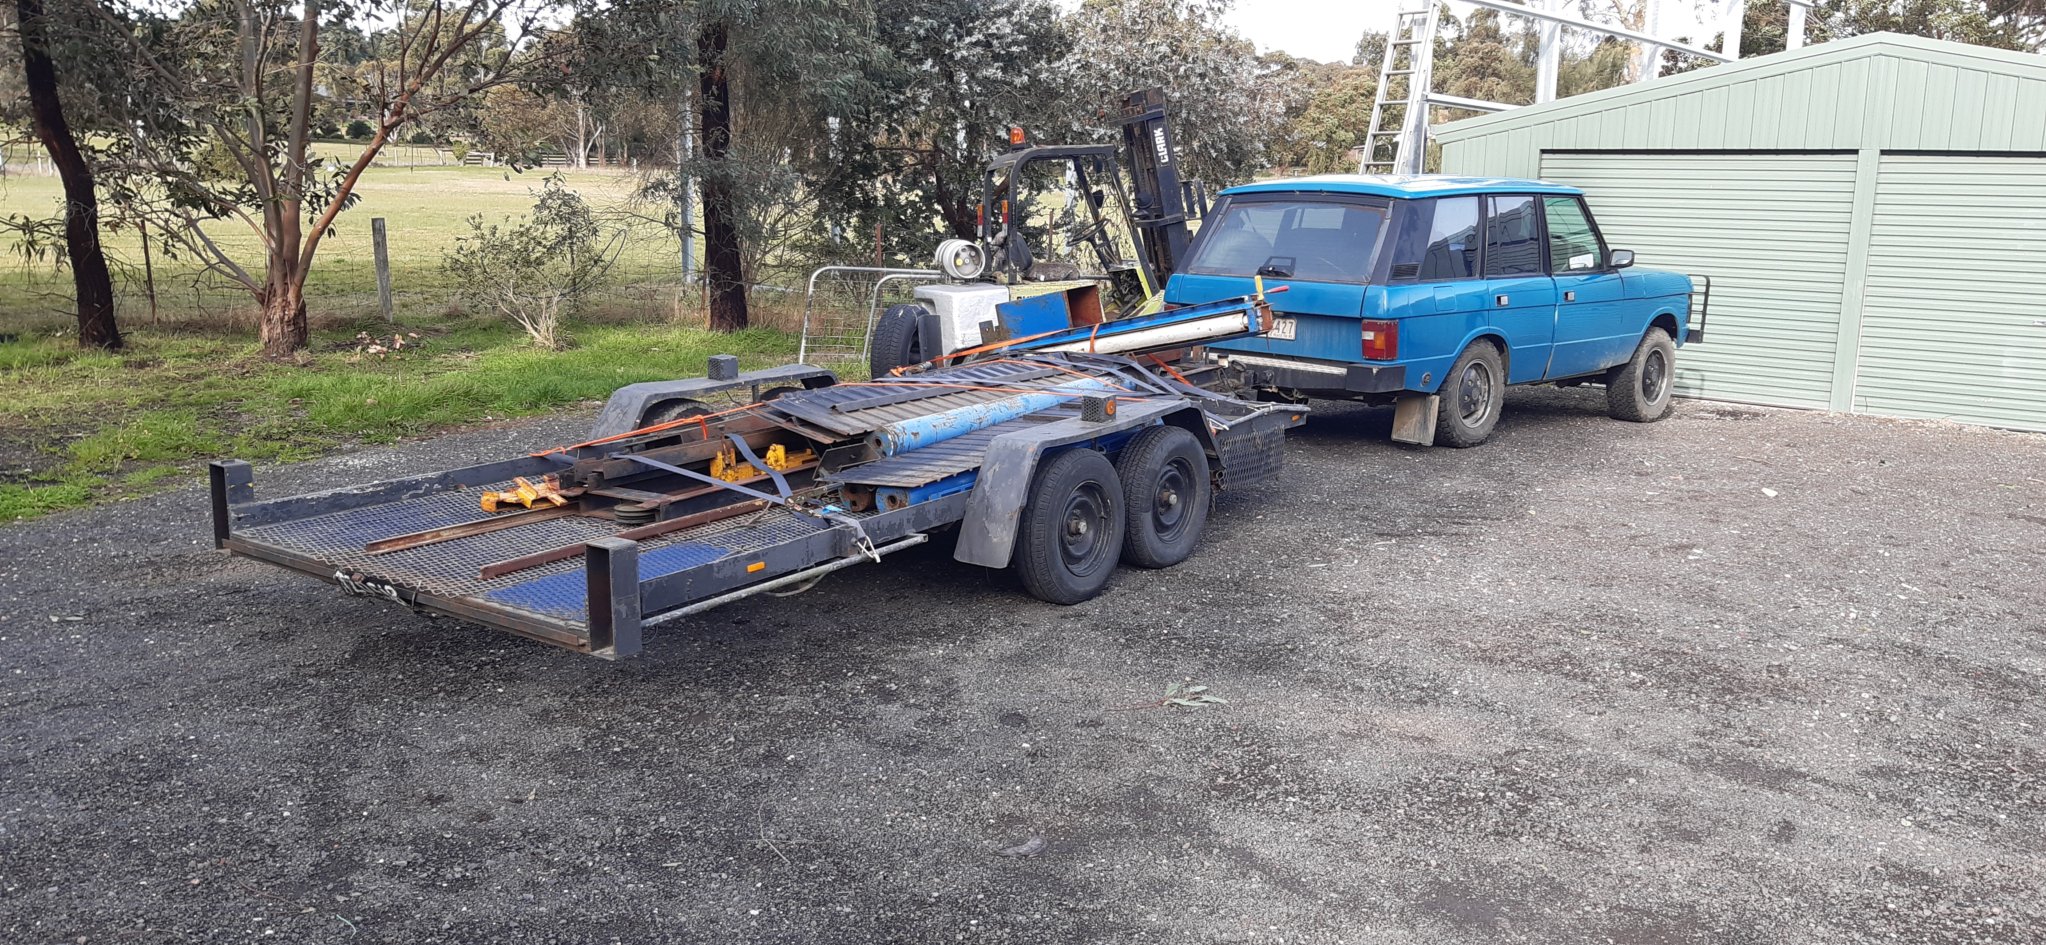
The boss women sure must be pleased with my ability to buy "treasures" when I see them :dance: The issue with this was going to always be "is it all there" ..... The sum total of all of my knowledge on car hoists is what they look like in pictures :clown:

index.php


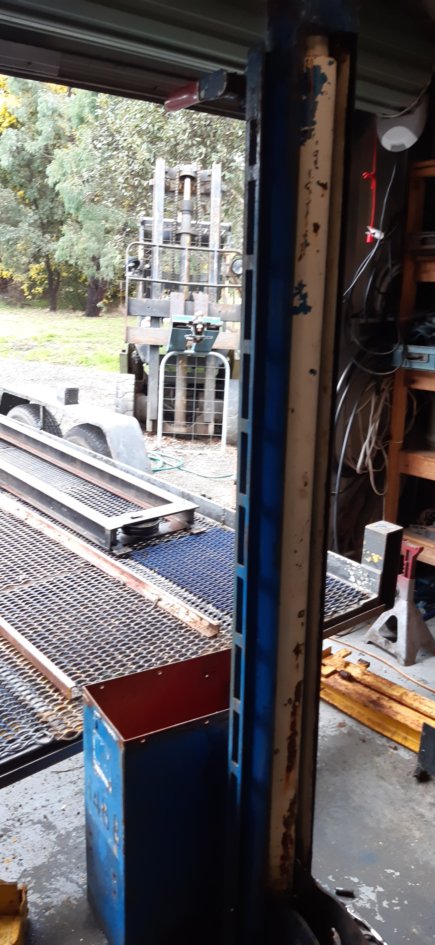
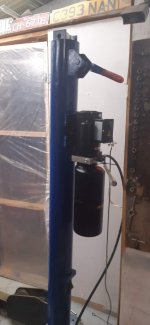
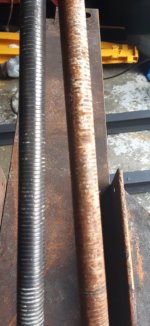
It made no sense how it worked until I realised the power post was two parts, and someone had ran two heavy beads of weld at the bottom to join them together.

index.php


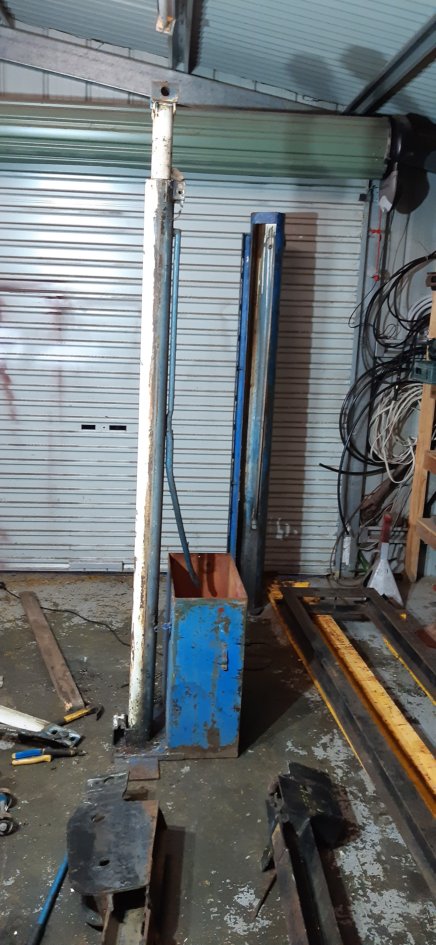
allowing me to dismantle the power pole into two pieces and unbolt the cross beam. It still made no sense how the ram was plumbed. I figured it all had to be hidden down at the base of the pole.... so out with the chisels, angle grinder, saber saw .... and anything else that could cut metal.
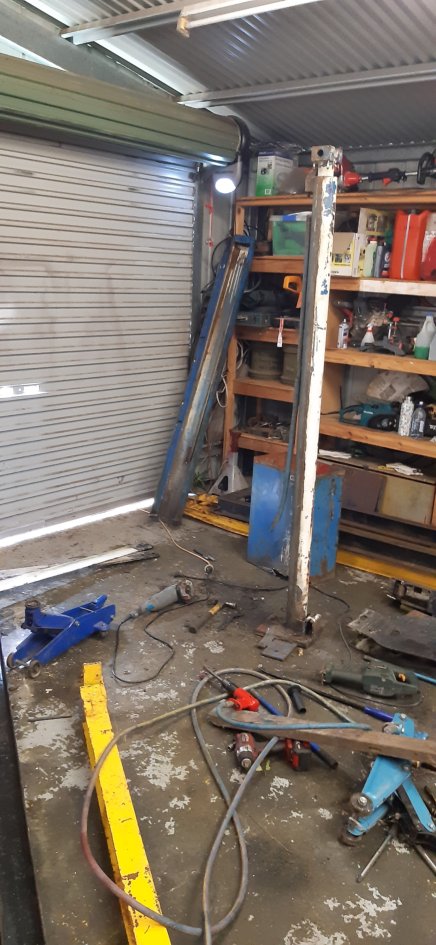
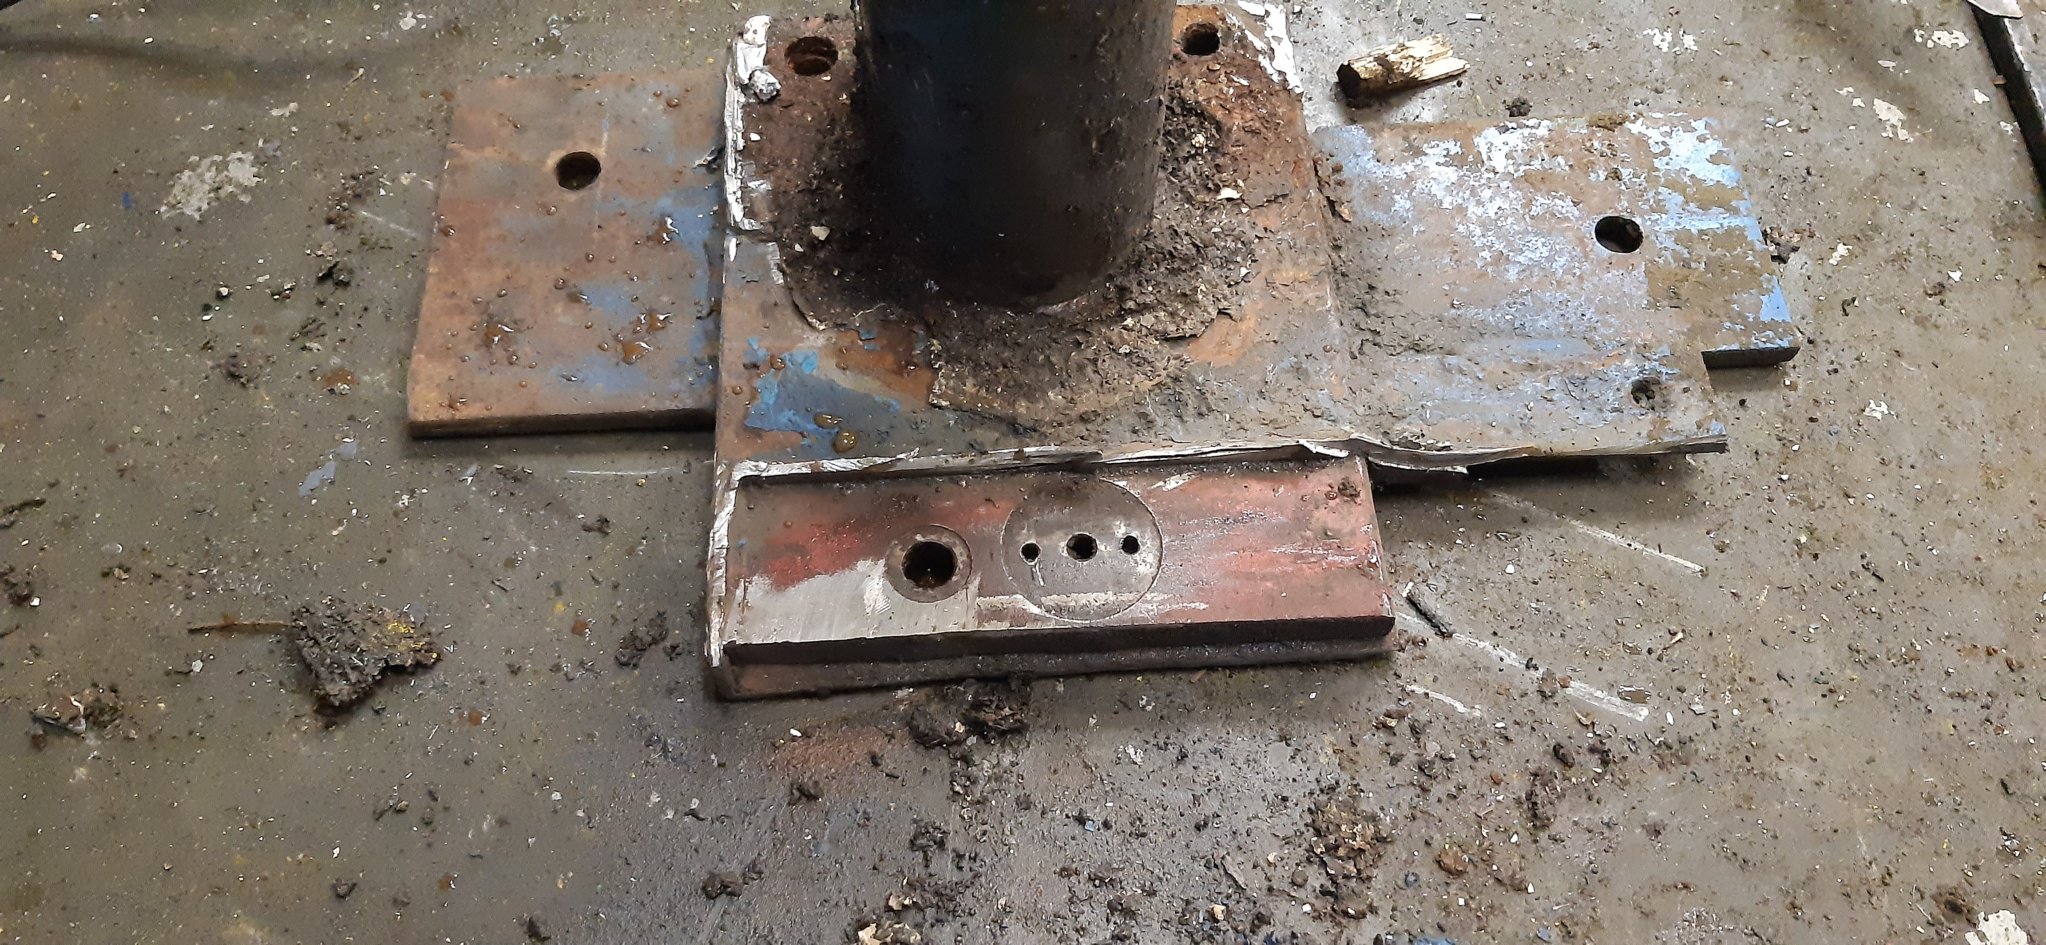
index.php


index.php


What a mess right ? :)
 
So I figured before I start spending any money on this I better see if I can assemble it and check its all there...... which quickly turned to "better give everything a clean and lubricate it while its apart".

20220825_113529.jpg


20220825_113631.jpg


I'm actually quite suprised how much work it was to give this a quick scrape down and splash of paint. Pretty much every paint I looked at had my wallet very unwilling to leave my pocket (gee's the expensive). the blue is machinary paint from the local paint shop. its a paint designed for spraying, but I just rolled it on (have to be fast so it doesn't set in the roller/brush). It sticks like merde to a blanket. As is the yellow. Now black, I was going to need far to much of that.... So I finally found septone underbody coating at supercheap ..... far more price friendly. its thick like tar, so I needed to thin it down with turps to even brush it on.

20220825_113606.jpg


20220826_122018.jpg


The wheels free cross bars .... Are just insanely heavy.... well everything is. I can just live one end of all of this stuff to drag it. who would have thought "I" beams were so heavy.

20220825_113703.jpg


the only bits I haven't painted yet are the ramps cover plates.
 

Attachments

  • 20220825_113718.jpg
    20220825_113718.jpg
    187.8 KB · Views: 102
  • 20220825_113746.jpg
    20220825_113746.jpg
    120.1 KB · Views: 99
I was insistant I wouldn't spend money on this thing until I was sure it was all there ..... hmmm.... $270 delivered for a new power pack .... wow that's cheap. How could I miss the chance to grab that ??

20220825_113746.jpg


a staggering $90 for a length of hose to connect it .... and we have hydraulic oil everywhere.

20220825_113820.jpg


The other holes in the ram.... that must have been for an overpressure valve tat was removed. So I just welded it shut. It goes up and down quite smoothly.

The only problem is NOW is when I find the missing bits. It took assembling it partially and working out how it all works to realise:

y.jpg


I'm five pulleys short ( who would have thought you would need 13 of them :eek: ).
20220825_113750.jpg


and the pin on the top of the power post is missing. I've found its the exact size of a CAT 2 linkage pin. So I'll be able to cut down one of them to fit ...


So all I need to do is chase up some pulleys ... and this thing should work well :dance:
 
Exiting times ahead, along with future club workshop meetings :p
 
Exiting times ahead, along with future club workshop meetings :p

I'm just still amazed you can buy the entire power pack unit ( 3hp single phase) for $270 delivered. The hard part always in the past was a way of converting the old 3phase stuff to single phase. The cost of doing this made in unviable.
 
20220828_145606.jpg


20220828_145549.jpg


20220828_145528.jpg


Moving along I manged to get the wheels free frames/Ibeams in place. it is so simple, its genius.

20220828_141043.jpg
20220828_140932.jpg


This crossbar both ends, just clamps around the slotted cuttout on the post.

lifting_tags.jpg


and the crossbars just sit on these tags and get carried up and down with the ramps/hoist unit. If you click the levers over, they'll lock into the post and leave the jacking assembly behind.
 
I've spend about a week at different times googling pulleys etc.... I just can't see a way of finding those missing pulleys that will allow me to buy some. Hoist pulleys in Australia seem to be about $220 each+ gst + postage. Given I need five, this means I'll never have the $$$ to buy them. Looking at the hoist ( or "ramps" ) sites in the UK. I can buy a power pole pulley set for about 300 pounds ( plus postage, plus GST and possibly plus VAT if they wont' give me an exception to that). Either way I'm looking at waaaayyyy over $1000 for the pulleys.... sigh.... SO i may have myself a really useful huge lump of scrap metal here :clown:

About an hour ago I sent the guy I bought this from some pictures of it painted up and almost assembled asking if he could have a look around as it appears I'm missing five pulleys..... And he sent me this picture.

pulleys.jpg


I must be the luckiest person in the universe :dance: :dance: :dance: :dance: He found these in the back of an old ute he was moving between sheds! His spare set of cables and the missing pulleys :dance: :dance: :dance:
 
youcan call it luck, but sometimes all you have to do is ask ! many people would have thought .no chance i wont bother ringing
 
I'm still not really happy with the way this hoist stays up if the wheels free beams aren't being used.

20220828_140947.jpg


20220828_141016.jpg


So how this works is that pivot is spring loaded to strongly wedge into the pole... If there is tension on the hoist cables, they will hold the pivot centered. If the cable breaks (or becomes slack). The spring will wedge wedge the bracket into the pole.

20220827_111114.jpg


20220827_110207.jpg


this is a concern though, all three of these rods had quite a bit of paint on them. that isn't a thread cut into the poles, it a mechined recess every millimeter or so, that way if the cable breaks and that pivot locks in, its going to lock in hard into the cutouts in the poles. Only the paint was so thick in places, the rods were nearly smooth. A lot of work iwth a wire bush in an angle grinder had got them nice and clean.

I'm not really satisfied at all with this. The only manuals I could find for this hoist have another ratchet assmebly (not this post) inside the poles. So this is possibly a very old hoist. Basically it is 100% relying on the cables to hold the car up in the air, and will then "catch" the car if the cable breaks.

What I'm thinking I will do it fabricate so bracket that lock the ramps cross beam solidly into the wheels free beam. So if your not using the wheels free mechanism. This way the wheels free mechanical ratchets will mechanically lock the ramps into place (so the cables are not being relied on). I'm thinking possibly something like a CAT 1 linkage pin to lock the two cross beams together. That way you can pull the pins if you wish to use the jacking beams :)
 

Attachments

  • 20220827_110217.jpg
    20220827_110217.jpg
    83.2 KB · Views: 89
That's a bit scary!

I got a fright when I noticed the rear of the XJ6 bounced while pumping the brakes. It's a long bugger & the overhang is substantial.

Do I deployed a pair of really tall car stands I made to support the Pug 404 ute's rear end (whilst removing & fitting the diff & cart springs) to pick up the rear extendable arms of the hoist. That got me stability.

They can be bought but are easy to make either from scratch or via adapting a conventional stand & are good insurance. Rather than holes & pegs as per the link below, a fat all-thread gives infinite adjustment.


Hmmmmm! I notice they have a 2-post hoist in the background!

That;s a really good idea. It doesn't even need to be super strong as you're just trying to keep the thing balanced, in theory it should never be under great load (as it'll stop the car reaching the "tilt" point where it applies great loads). In theory this one here should never tilt as it has a post in each corner.

index.php


See the yellow and black cross beams. All I need to do is fabricate up some sort of mechanism to lock them together, then that huge locking mechanism you can see up the side of the posts can be used for both wheels free and for supporting the ramps themselves.

The yellow full length jacking beams just lift off (if your stronger than superman). so they can be moved out of the way.
 
I would devise a way to test the safety catches in case the cable breaks before using the hoist. Not sure how, I still don't understand how the whole assembly works, but I would never use it unless I knew the failsafe works perfectly.

Well done Shane. How much are you in as of now?
 
I would devise a way to test the safety catches in case the cable breaks before using the hoist. Not sure how, I still don't understand how the whole assembly works, but I would never use it unless I knew the failsafe works perfectly.

Well done Shane. How much are you in as of now?

Oh they'll work fine. If you could see it in person you can tell it'll work (its very industrial and heavy in design). Its so simple how it works if you assemble it .... but almost impossible to work out from the pictures. everything painted blacked runs up and down the poles suspended by the cables. everything painted yellow is carried by the black parts. The yellow bits will mechanically lock into the posts using the ratchets you can see, so can be left behind when the ramps get lowered. These yellow parts will then hold the car up in the air leaving the car dangling (in a similar fashion to a 2post hoist). They call its a "wheels free hoist".

H443-Bradbury-4-post-rail-hoist-3.jpg


I'm guessing you would normally put the jacking beams under the car, then lower the ramps to a comfortable height to sit on and use as a tool bench.

So my idea is to tie the black and yellow parts of the hoist together using some CAT 1 linkage pins ... so the ramps will be locked into the ratchet mechanism on the post along with the yellow parts. I'll post some picces when its done, so it will all make sense.

I've invested quite a bit in this now.

Hoist ........................................... $400
Power pack ...................................$270
Hydraulic line .............................. $92
Paint .. um .. maybe ...................$150

I just need to collect new cables and missing pulleys and this hoist will outlast me, my kids and my grandkids. Something that is solid "I"beams will never wear out. All that can possibly wear is pulleys and cables. And they are readily available as the hoist appears to still be using the same parts today :confused:
 
Happy that you located the original pulleys, they looked around the size of the 3 sheave pulley block in My old workshop downstairs, and of course available to you gratis if you needed them. Another interesting project thanks for posting.

Ken
 
20220918_132743.jpg
20220918_130737.jpg


Its not really smooth as it goes up and down. It appears to be the cross bars aren't sitting level. I think it just needs a car on it to force everything to settle.

It *just* reaches the first locking notch on the the power post as the power post rams hits the roof of the shed. this still leaves it supported by the cables either way.

20220918_164907.jpg


some linkage pins. with the pins in .... everything is locked into the mechanical locks up the sides of the post.

20220918_164924.jpg


so we are mechanically locked in.

20220918_165058.jpg


and if I pull the pins, the wheels free beams lock in and the ramps drop away. I'm not sure how much use the wheels free beams will be, they may sit too high for modern cars. I'm betting the 407 doesn't have the clearance to drive over them. I guess I will find out soon

There isn't much concrete in this floor. no wonder it gets damp in winter. The bolt holes I drilled in the front corner post hit water with barely any concrete depth. This means there is no support at all under the front corner of the slab.
 
well the 407 just scrapes on ..... the front is literally 1mm from the wheels free beams. The issue is the rear would need about 20cm of packers so the you could support it safely at the back. I'm thinking this sort of wheels free is better if you own a car with live axles.
 
Hi Shane possibly you just need to put a 4x2 on each wheel track to raise the car a tad at the front to make it easier for clearance. Then cut a few 'firewood' blocks to use as packers at the rear. :2cents: Gees I would have loved a hoist like that !! Got over working on cars now ?
Jaahn
 
Hi Shane possibly you just need to put a 4x2 on each wheel track to raise the car a tad at the front to make it easier for clearance. Then cut a few 'firewood' blocks to use as packers at the rear. :2cents: Gees I would have loved a hoist like that !! Got over working on cars now ?
Jaahn
that would work. I also need to make some nice long "run up" ramps to get onto it so dead citroens can be loaded. the small ramps to get onto the hoist aren't there. They may never have been there in the first instance as its likely the hoist would have been recessed into the floor when first installed decades ago :)

I'm thinking I could cut down some jack stands and use there ratchets to clip around the wheels free beams, that way I can just slide the ratchets up and down the wheels free beams.... giving me adjustable in height to reach up into the areas that can support the car..
 
Shaping up as a very useful piece of garage equipment.

re the thin concrete, you may need to lay a more substantial concrete pad under the main support poles if you intend to store a vehicle on the structure for an extended time period, should be a relatively easy task, if the corners are supported while it is dug out and new concrete poured. You may be able to adjust those height clearances to floor level at the same time.

Glad to see you doing all this while you are still able to tackle such ambitious projects (whipper snapper!! ;) :))

Ken
 
Oh, I'm not worried about the concrete for now .... this will be moved in the next year or two when this is finished

index.php


its going to be a 12 x 12 shed with 3.8meter wall height joined to this one...... if I ever get to it. I just need to win tattslotto so I can put a decent floor in it
 
Top