R5 Alpine Motor for Nauli's A110 !!!

geckoeng

Well-known member
VIP Paid Subscriber
1000+ Posts
Fellow Frogger
Joined
Oct 31, 2010
Messages
2,447
Location
Perth, WA
icon1.gif
Project R5 Alpine Motor for a A110 !!!


I met this car quite some years ago, as part of a collection, of which the "early Blue A110" was part of. It sat for a few years with not getting much mileage on it, and suddenly it comes out the woodwork. And a few days later I was told it had been sold, and my friend 2 doors down was trying to get the seat right so this big ex-surfer could fit in it. Well Colin got the seat set well enough so the new owner actually fitted in the A110 very comfortably.

A few weeks later I hear the "earlier Blue A110" pitch up, and a short while later drive out, and actually working well. And about half an hour later the "early Blue A110" comes back, really being driven. Oohhh it sounds so nice. I seem to have an affinity to the sound (????). The episode over I get on with my work. Suddenly this large guy comes storming into my workshop and demands that I do to his A110, what I did to the "early Blue A110". ?????

Then I realised Steve had taken it for a ride and was somewhat impress with the running of the R5 A/G motor in the back. Which probably needed a tune and clean fuel.

And that is where the story starts.

The Sows ear I was to turn into a Silk Purse !!!!!
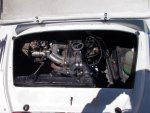
DSCN0135.jpg

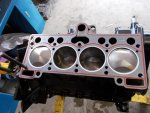
So I promptly told Steve I could help but needed to know what he wanted to put in the back of his A110. And he told me the same as what was in the other car, a R5 A/G 1400. So I showed him a motor under my shelves.

Ray
 
Last edited:
EX-Surfer,

Well yesterday got put on another thread, so I should keep this one updated.

"As of lunch time your head came out and made all the water pump block channel. All that is needed is to glue and screw and the head mods have started." yesterday.

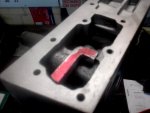
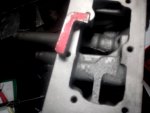
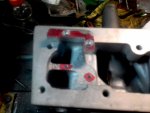
20180717_145824.jpg20180717_145900.jpg20180717_160249.jpg

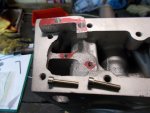
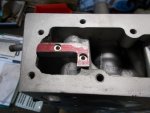
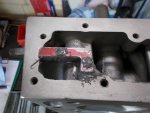
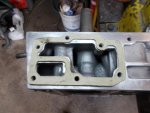
Excuse the quality of pictures, my phone can't do close ups. This is just the making of the block to be able to change water pump end on the head, back to the same as R8/R10.

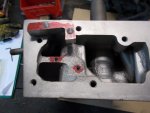
Today was the Glueing and Screwing. The screws were cut to length to suit the treads in the head (M4). All mating surfaces were sanded and cleaned with acetone. I used Devcon metal bond. With the aluminium filling.

DSCN0237.jpgDSCN0238.jpgDSCN0239.jpgDSCN0241.jpg

All that is needed is to let the Devcon cure, and tomorrow I will sand and file the surface flush with the end of the head. And to grind this form out of the other end of the head.

Ray
 
Last edited:
Today's tail :
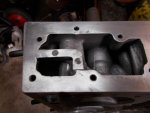
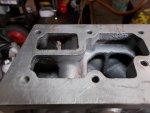
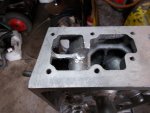
The glue was well cured this morning, so first job was get the head mods completed. First part was togently sand the surface just to remove the excess ali on the block. Then it was filed till flush with the face and then polished.

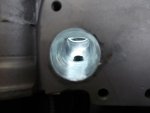
The next section is turn the head around and cut out the water duct at the original water pump end. Out comes the die grinder and make one hell of a mess for just a short while and it is done.

DSCN0245.jpgDSCN0246.jpgDSCN0242.jpgDSCN0243.jpgDSCN0244.jpg

Now to more important work on the engine block.

Ray
 
Last edited:
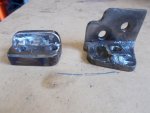
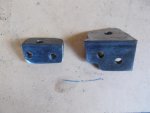
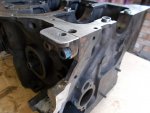
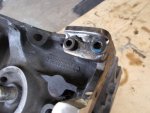
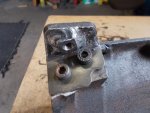
Because Renault saw fit to chop the rear engine frame mounts off the back of the R5 A/G block, I make new steel mounts to replace the cut off bits. I have seen similar on AF in the past, but this is my version, similar to one I did for a friend in the UK when putting a R5 A/G in his R8.

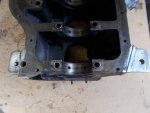
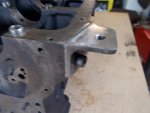
Getting the parts connected to the block requires some drilling and some drilling and tapping. The angled mount on the left hand side I drill through the block, as it is thin here, and I don't feel M8 threads will take the strain on the engine. I will finish it off with "crimplock" nuts fitted inside the block, and epoxy resinned in place. This also means it is sealed from oil leaks.

Once the new tabs are mounted in a satisfactory position. It is then easy to lay out where the threaded bolt holes should go and some more drilling and tapping.

DSCN0248.jpgDSCN0249.jpgDSCN0251.jpgDSCN0253.jpgDSCN0254.jpgDSCN0255.jpgDSCN0256.jpg

The block can now be used with standard rear cross member, and engine mounts.

Ray
 
Last edited:
The reason for removing the engine mount lugs off the "back of the block" in the R5 (Mk 1), is the very close proximity to the cloistered fire wall in this region. Designed very similar to a R16 in this area.

Ray
 
Cylinder Head Porting !!!

Yesterday and today were spent making aluminium shavings.

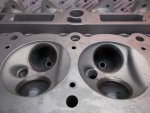
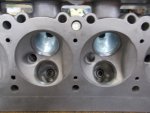
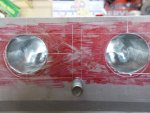
Surprising enough the Alpine head has a large pile of cuttings on the bench and floor after the job. Although I did work on the manifold at the same time. But I was not drastic with the head. And erred on the side of caution with the exhaust ports, as I felt for what we wanted from the motor matching them to the exhaust manifold would hurt mid range a bit. They will still work very well with the exhaust manifold, but at slightly lower rev range.

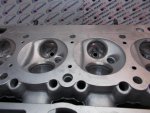
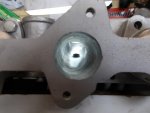
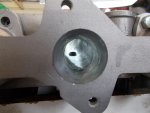
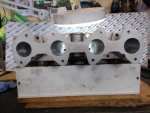
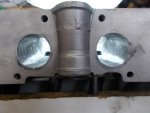
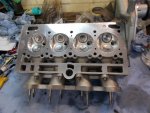
Putting a shape and size on the port face of the head is first step and then work in towards the valve guide, and keep it tapering well with as straight a wall as possible. When the inlet manifold went on, because it needs to blend with the Webers on the outside, so a slight deviation of flow pattern is then ground into the port. I think what we have is very acceptable for what Steve wants from his motor.

Once all the grinding/cutting is done with the die grinder, to get a good shape, it is then time to get out my small Makita drill and flapper wheels, and take all the large bumps off. This also helps with the final blending of the joint of the inlet manifold to the head.

Comb Cham 1.jpgEx Pockets.jpgEx Ports.jpgIn Mani 1.jpgIn Mani 2.jpgIn Mani 3.jpgIn Pockets.jpgInl Port 1.jpgInl Port 2.jpg

Unfortunately Nauli was not there to clean my bench and the floor after I made the mess. But he will more than likely be in tomorrow to see what was done.

ray
 
Hi Ray
Some of the images on the 3 posts are not visible.
Does anyone else have this problem?
Angelo
 
Thank you Angelo, I can fix that I think, let me play ....

Ray
 
Thank you Angelo all the pictures are now put back in ......

I should explain. As the thread got "HI-JACKED" with a load of rubbish I deleted it and rebuilt it today with all the important stuff for the thread. And in rebuilding with cut and paste I lost all the picture links, so went back and put new links in. The cut and paste also gave all the entries to days date. All explained !!!

Ray
 
Last edited:
RAY!!!! Great progress! I was going to drop by tomorrow but I feel another appointment coming on....lucky you posted the pics!
I was wondering about all the "today" posts....thinking, I'm sure he's done some of that already (and besides, I know he can't work that fast)....
 
Because I want to run the duplex timing chain.

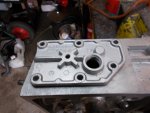
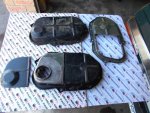
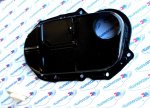
As nobody in the world of Renault makes a timing cover conversion for the R5 Alpine motor, to run a crank pulley at the timing chain end. It came to pass today that a "cut and shut" job was needed. I first thought of a full cut top and bottom, but with loss of structure it will warp during welding. Then I realised if I leave most of the pressing structure in the Alpine unit, and merely put a panel in with the seal part in it, would be much better, when it is bolted to the block and welded. So the picture is the parts ready for welding.

DSCN0230.jpg

The cover will be aligned with a positioning tool, and then drilled and roll pinned to the block, so it will make the seal aligned with the pulley, when it all gets assembled.

Ray
 
Completed Timing Cover

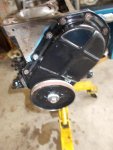
Well after a good bit of work the timing cover is completed. Seal hole central to the crank centre and still nice and flat.

Timing Cover.jpg

On to next step .......

Ray
 
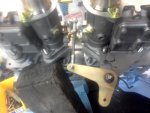
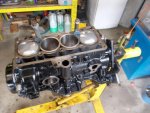
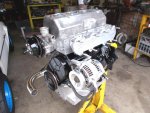
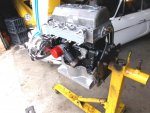
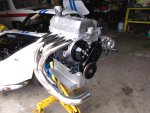
We Have been on the project. All the little things sorted and ready to roll. So today came (and went) but the motor is together. Just so nice to see it all there. Carbs have been on the head, but are back in the boxes, as they will only be fitted in the car. Even with this it takes up a lot of room and i do not want to damage cars while installing.

Accel Link.jpgDSCN0230.jpgDSCN0231.jpgDSCN0232.jpgDSCN0233.jpgDSCN0234.jpgDSCN0235.jpgDSCN0236.jpgDSCN0237.jpgDSCN0233.jpg

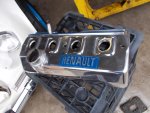
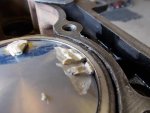
Rocker cover on the motor is my un-shiny one, the sparkly is Nauli's, and pistons needed slight touch for inlet valves clearance.

Rays work today ...
 
Ray,
You may have pointed this out previously but, are the head stud holes "counter sunk" to prevent metal being pulled when torquing bolts?
 
Ray,
You may have pointed this out previously but, are the head stud holes "counter sunk" to prevent metal being pulled when torquing bolts?

Yes these blocks are prepped like this at the factory. The Alpine block has quite a bit of "blue printing" done before assembly, so you just need to look over it before assembly. The R12 1400cc is the same casing and machining, but not nearly as much prepping done.

Ray
 
Nauli,
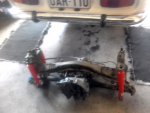
Your beast is now powerless and motionless .........

20181021_104836.jpg20181021_104844.jpg


Ray'
Today ....
 
Top