Ray,
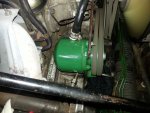
Sorry I can't help, but what you are seeking is a steel body - no more cracks :wink2:
Cheers
Chris
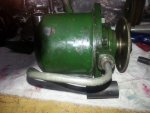
I have a spare pump & one on a high mileage wreck. Do the steel body pumps look any different visually?

Ray,
Sorry I can't help, but what you are seeking is a steel body - no more cracks :wink2:
Cheers
Chris
I have a spare pump & one on a high mileage wreck. Do the steel body pumps look any different visually?
 and before the inside face of the mounting plate.
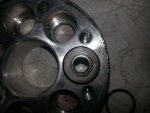
There is a D Special at Narooma that successfully uses a BX pump (not 16v). Gets up quick too. No pics sorry.
The BX pump must be from an 8v as the 16v rotate opposite direction like a 12v V6 XM.
")
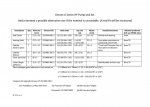
You have three options to repair this item for a long life
1. have an aircraft welder do the cracks. One of the best is located in Williamstown Victoria.
2. Use a two part aluminium based epoxy
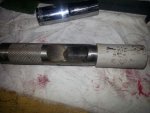
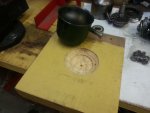
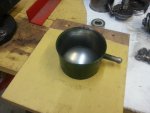
3. Machine bore oversize and fit stainless sleeves and machine finish of bore and use epoxy on cracks and heat shrink sleeves into place.