
All right, need some help gentlemen...
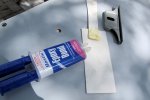
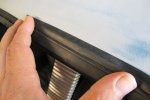
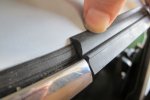
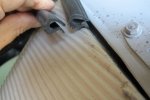
just got my DS roof back from the paint shop and it will soon be time to reinstall it. What mastic / Sikkaflex #? / silicon have you used for it? Sikkaflex 225 appears to be for windscreens and the like, but not sure it is the right material.
thanks in advance.
Sven
just got my DS roof back from the paint shop and it will soon be time to reinstall it. What mastic / Sikkaflex #? / silicon have you used for it? Sikkaflex 225 appears to be for windscreens and the like, but not sure it is the right material.
thanks in advance.
Sven


 ...
...


