Thought i share my R8 rebuild and customisation project with the others on this site - this just helps me stay sane because all my other friends think i've lost my marbles playing around with this "weird old car".
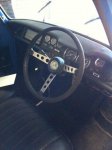
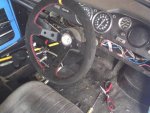
Even my son (who is 10) cant get over the fact that the speedo only goes to 120 and that you have to turn this "lever thing" on the door to make the window go down. And to tell the truth i dont know how to respond to him when im working on the car and he walks past and says "How's your gaybo renault going dad?".
Before i put this up i know some people are going to cringe when they see what i am doing to this vehicle (such as cutting up an original 1135 steering etc) but to me driving around a stock standard R8 (even an 1135) doesnt do it for me at all as i have been there and done that when i was 20 (i had about 6 R8's and 3 R10's a 16TS and 17 that i chopped into a convertible etc etc - the 8's ranging from 1132's to a 34 and a 35 and they were always my favourite).
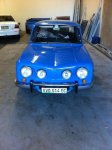
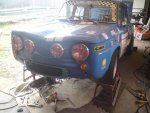
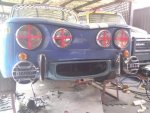
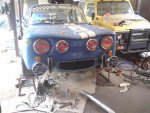
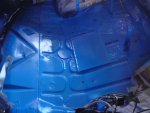
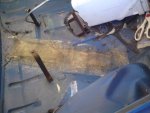
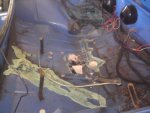
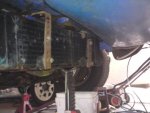
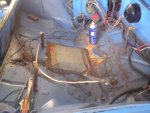
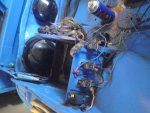
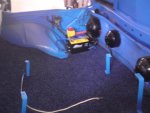
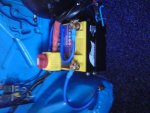
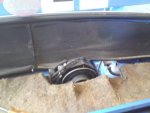
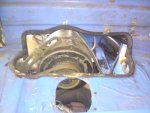
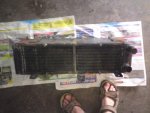
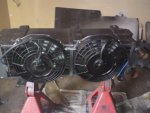
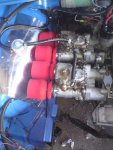
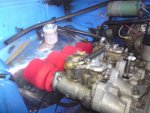
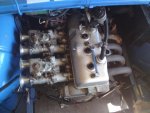
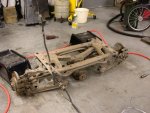
First part is the purchased car which arrived in May 2011.
Even my son (who is 10) cant get over the fact that the speedo only goes to 120 and that you have to turn this "lever thing" on the door to make the window go down. And to tell the truth i dont know how to respond to him when im working on the car and he walks past and says "How's your gaybo renault going dad?".
Before i put this up i know some people are going to cringe when they see what i am doing to this vehicle (such as cutting up an original 1135 steering etc) but to me driving around a stock standard R8 (even an 1135) doesnt do it for me at all as i have been there and done that when i was 20 (i had about 6 R8's and 3 R10's a 16TS and 17 that i chopped into a convertible etc etc - the 8's ranging from 1132's to a 34 and a 35 and they were always my favourite).
First part is the purchased car which arrived in May 2011.