My new challenge - 1964 ID19F Safari

Well, the goodies for a new loom have been sent and arrived safe and sound at Billā€™s ā€œholiday homeā€. I sent the looms, switches, regulator and a few spare parts. Thanks again Bill for doing this!

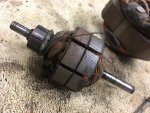
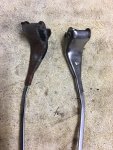
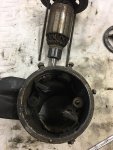
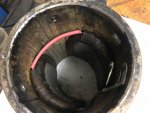
So, back onto the car. Started to clean up and restore the first few parts: wipers, heaters and a few other bits: found that the motor for the Ducellier heater has broken rotor wirings... would anyone have a spare motor by any chance?

12630C3A-589F-4687-8D3B-ABBE15D5A8A7.jpeg
63874DDB-FCBA-4EE7-AAD8-BE1BD2782076.jpeg

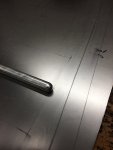
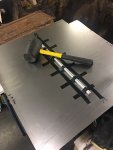
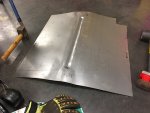
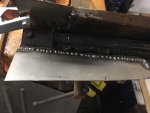
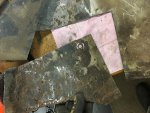
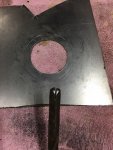
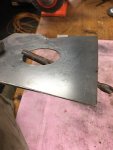
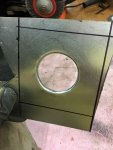
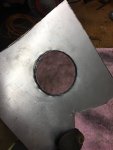
i also had a crack at making my own floorpan - well, that didnā€™t work as I hoped. Used a rod to form the grooves. But the sheet just buckled too much. So, back to the drawing board: might need outside help... the concept is ok, but not sure how to hammer five grooves and keep the sheet flat unless you have a proper die.

ADCA660A-713F-4C85-AB23-C83150270C36.jpeg
C23529A5-52D7-4C43-BBFC-BC9D56BE569E.jpeg
57456F1C-B17C-484F-840B-5CB95B73CB3E.jpeg

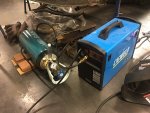
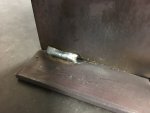
And then I did what I should have done from the start: I finally bought a bottle of shield gas and standard wire - what a difference! Clean, less burn through, easier to control. Almost looking forward to welding now!

CA4D7D4D-42E6-4CB0-8EF9-32F88E3D23BC.jpeg
BC164947-3C07-44F6-AA78-B0B2F613FD40.jpeg

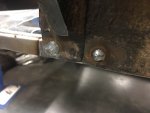
Even the plug welds look half decent already.

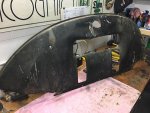
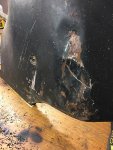
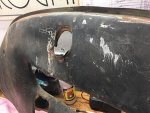
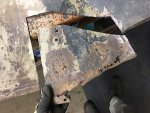
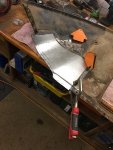
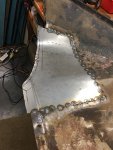
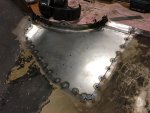
so I practiced a bit more on the support panel that holds the accelerator pedal. Cut out the dead parts, knocked up the infill panels and - voila - welded them in with lots of spot welds from the back. Once itā€™s tidied up it can go into the powder coating pile.

ECD8F7F6-EFE8-414A-942A-5F2FA7B05C3C.jpeg
458A37B6-18F0-4F82-9162-075DBCA727E2.jpeg
DC6DD3AF-CAB9-4981-A5DF-85DFEF0379FD.jpeg

Sven
 
Phew, not much time to fiddle with the Safari over the past two weekends, but time for an update nonetheless:

To distract myself from the rust repairs, I tackled the driveshafts. Filthy buggers! After a few hours of scraping and degreasing I found that the bellows were in good shape and didnā€™t need replacing. After the clean up and repacking with grease, they are ready to go back onto the car (one day)...

C0BD78F5-D008-435E-A9E5-30126089DE05.jpeg
FE14961F-0AE2-48B5-8B4C-8598EF9281AA.jpeg

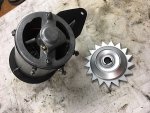
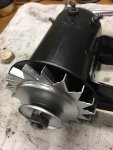
another small job was the Ducellier generator. Besides being filthy and the crumbling isolation on the wire that connects the magnet wiring, it didnā€™t need much bar a clean up. I added the isolation via a short piece of heatshrink tube that I carefully shrunk on with the gas flame (bit daunting, trying not to burn anything). After painting the housing and the pulley, it now looks schmick again.

4F18BE0D-6F43-4E18-8746-60C4803AE210.jpeg
129EB2FE-96CF-4FC8-986F-60D7536C8F28.jpeg
0C4BE1B7-6B85-4E3D-A795-FEDF8879A2E6.jpeg
7CE40D87-FFCC-462A-8CDF-53926A04EDF4.jpeg

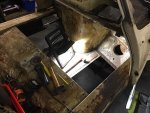
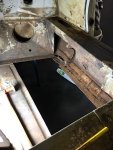
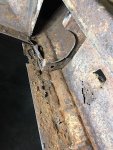
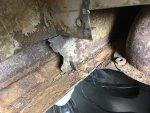
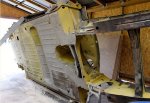
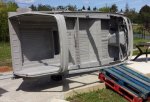
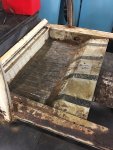
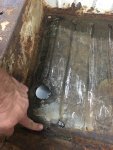
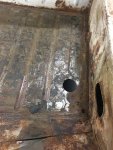
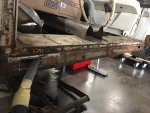
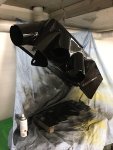
Back to the chassis: I started cutting out the drivers side floor and sills with all the double up patches from the olden days. Geez, not getting any better - rust and more rust. Might have to rethink my approach... might copy the French version of a rotisserie as seen in the two shots below: if I brace the chassis with a few SHS bars and roll it onto the side onto a couple of old tyres, that would give much better access to the floors and sills. Would of course brace/secure it to the garage ceiling so it cannot move! Safety is key! :eek:

1B378E37-187C-4025-BA15-17CC5BA8C34A.jpeg
694D02B5-F46A-473F-AB66-B1A94CC08C81.jpeg
A7104485-6C9A-4330-A4BA-CB6AB0EA364F.jpeg
21C62C80-2366-4739-808A-42AC8EE6F1C7.jpeg

8A8CC4CC-F587-4C1C-9943-D546F7F839AD.jpeg
4ED679F9-9566-4C56-AF95-E00BCB8DDF57.jpeg

Bill (Hotrodelectric) has received my loom and parts and is engulfed in designing my new loom. Still cannot believe that he offered to do this for me! Super generous!

challenges are fun, arenā€™t they? I knew the chassis would be the hardest part for me. Will get there...

Sven
 
Bill (Hotrodelectric) has received my loom and parts and is engulfed in designing my new loom. Still cannot believe that he offered to do this for me! Super generous!

challenges are fun, arenā€™t they? I knew the chassis would be the hardest part for me. Will get there...

Sven[/QUOTE]

Hell, I just wanted to see if I still could still do this!:banana::jiggy::headbang:
 
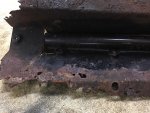
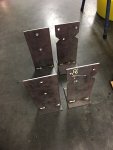
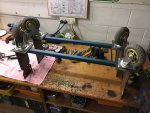
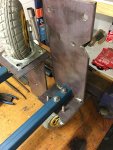
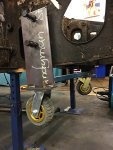
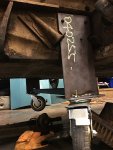
Bought a few lengths of steel SHS and plate to strengthen the chassis before I chop out more of the rusty sills and floors and to also build supports to enable me to wheel the chassis around and get it onto a truck and off to the sand blaster - itā€™s time to blast all the crap off it to see what is good and whatā€™s not. Found a few more holes... aaargh...

Needed a bit of fiddling, but I think my supports are quite neat. They are on swivel coasters and attached to the suspension mounts.

F64199F3-5B6E-40E2-8C62-C15782EC1DAB.jpeg
E773A936-3DF6-4793-B8ED-D948399922CE.jpeg
41432F74-5DC9-4F3D-8F97-88DE0CA1419E.jpeg
E5A7383D-30C5-479E-91EB-194E91AD70BB.jpeg
A175C422-B27D-47E9-BE86-99C2D49DED7A.jpeg

even the welds look ok (mostly)

53E62FE1-A7AD-41B2-8062-9F1DD647BD90.jpeg

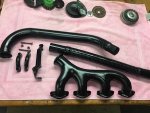
Also slapped a bit of heat resistant paint onto the exhaust parts - a much nicer job than rust removal.

56FD00CA-B36B-4AF6-AA92-F237AFAFACA9.jpeg

Sven
 
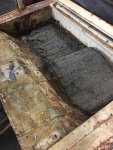
Been doing a bit more prep work on the chassis, to try and get it off to the sand blasting soon. First job was to remove the old sound matting in front of the rear bench. After a few hours of chiseling and scraping I got most of it off... good physical exercise! And what did I find? A few more holes of course - yeah (not)... letā€™s see whatā€™s left of it after blasting.

0F9A9A88-F5FF-4169-BAD5-395607A8902E.jpeg
0E3B5FB3-4A15-4302-B091-963242006784.jpeg
6357E5D0-8582-4B0E-BEBE-39171E26F510.jpeg
1F9F9A2F-BB16-432C-8A12-0A8C456A53DC.jpeg

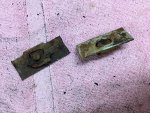
Also had to cut out two cage nuts where the bolts where rusted solid and snapped off. Well, gave me an opportunity to attach a small hose to the vacuum cleaner to get into the box section. A few of the seal carriers are also rotten, so cut them out and will replace them.

D6EFDAF4-9D77-410B-B0FE-18554828094C.jpeg
ADD9C7B4-0039-4CE9-AF7E-B239E83163F3.jpeg

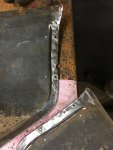
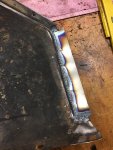
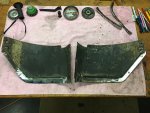
Finally mucked around with the two front valance / wheel well closing panels. The bottom edges were badly rusted, so cut the rotten bits out, fashioned up a couple of strips of replacement metal and welded them in. Once the welds are tidied up and the nuts welded back on they are ready for painting. Used a solid round bar with a 1mm slot cut into it to fold the rim over - worked well!

74B2E7A4-1363-4624-B4C4-FCB07DF5A049.jpeg
FF7738E7-5091-4A69-9529-0AF20BDB6295.jpeg
F3E40DB7-5B96-43E0-A50D-4131ED2B9034.jpeg

Sven
 
kerosene is useful to loosen up the matting as it dissolves the glue.
 
As a small aside to you Sven: I able to buy all the materials yesterday so I could start building the wire boards. I.m looking at actually being set free within the next 2-3 weeks.
 
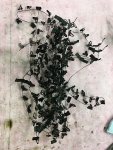
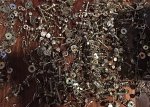
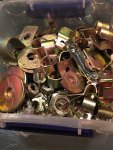
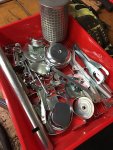
Well, got all the bits and bobs back from the electroplater - mostly ok, but some of the badly rusted parts didnā€™t turn out too well. Nice to have some more shiny black, gold and silver parts ready for assembly.

1B17AC2C-5014-4883-8920-084812FDD6A3.jpeg
33C0A3FD-2A3F-43AA-A53F-2C20E37F3195.jpeg
9E358ACC-4AFB-421F-8ECA-41BDE93F34EF.jpeg
724E1828-2362-4B3F-B77F-93A9C9F0117E.jpeg

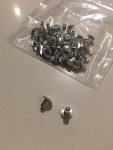
Took half a day to untwiddle the wired parts... sore fingers galore. Also finished the pairing of the heater parts, ready for reassembly as I received my little bag of rivets - letā€™s hope they are the right length and will work.

D53FB6E7-1589-4F3F-8B3A-2C5EAC116848.jpeg
F056141E-17A7-482D-AD0D-37E896DEA49F.jpeg

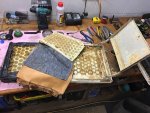
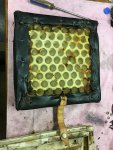
pulled the little ā€œstrapotinsā€ dicky seats apart as well. The foam is pretty well stuffed. Does the Dunlopillo style foam with the holes still exist? Or would one just use any old upholstery foam that has a similar stiffness?

85EFC7DC-BE12-426C-A60A-9D6EF5644620.jpeg
494FC1F3-45E5-4947-A570-DD6B13B1CB70.jpeg

not a lot of progress as I spent half the Sunday at the local Beaumaris car show: quite a few nice cars on show and the weather held up as well. The closest to Citroens were three Renaults: A new Alpine, a 12 and a 16...

Sven
 
Well, got all the bits and bobs back from the electroplater - mostly ok, but some of the badly rusted parts didnā€™t turn out too well. Nice to have some more shiny black, gold and silver parts ready for assembly.

View attachment 115936
View attachment 115937
View attachment 115938
View attachment 115939

Took half a day to untwiddle the wired parts... sore fingers galore. Also finished the pairing of the heater parts, ready for reassembly as I received my little bag of rivets - letā€™s hope they are the right length and will work.

View attachment 115940
View attachment 115941

pulled the little ā€œstrapotinsā€ dicky seats apart as well. The foam is pretty well stuffed. Does the Dunlopillo style foam with the holes still exist? Or would one just use any old upholstery foam that has a similar stiffness?

View attachment 115944
View attachment 115945

not a lot of progress as I spent half the Sunday at the local Beaumaris car show: quite a few nice cars on show and the weather held up as well. The closest to Citroens were three Renaults: A new Alpine, a 12 and a 16...

Sven

From my experience, it will take you several days to wade through all the nuts, bolts and washers and work out where they came from! There are so many variations in bolt length, washer diameter and thickness, and even in nut thickness. Citroen must have used these different pieces for a reason, so I'm assuming that each one has it's own place.
 
This weekend was spent prepping the chassis, ready for sandblasting. Drilled out a number of bolts that broke off during disassembly, recut the threads and drilled a few extra ā€˜drain holesā€™ so any blast media can be blown out with compressed air afterwards.

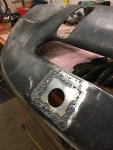
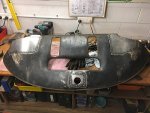
And besides the usual hours of cleaning parts, I thought I have a crack at fixing the front valance panel. Nothing to lose, it was that beaten up - badly dented and rusted.

16CA0C64-5304-4A6E-8469-CFF46A3630C6.jpeg
0E5C993E-3938-485D-9A73-4AB986E9A118.jpeg
257DBD8F-6E54-4605-AA06-7638350DFBDE.jpeg

so, first step was to hammer the dents back out as much as possible. Getting better at using the hammer and dolly. Two large areas had to be cut out, as well as the mangled hole for the crank handle.

2651E82F-0840-4D60-B3C4-0697CBAFADAB.jpeg
EA5B3612-72A8-457F-9233-B2F841DC8004.jpeg

After a fair amount of 3D bending using all sorts of things that had the right radii, the parts fit pretty well. Spot welded them in and then worked on the folded edge.

644DBF14-387B-46F4-A79C-E27D2E948A4E.jpeg
D77E959F-DA81-41F8-9CCA-C1DA40F49A56.jpeg
B73E9F0B-F42F-4E54-A5A1-6124709992C5.jpeg

come up all right. Once it is tidied up, some filler applied, the panel will be pretty decent again.
making up a new crank handle hole was quite a fun little exercise: after cutting out the hole, I made up a tool from an old drill - cut a 1mm slot into it and used it to slowly fold over the edge until I had a neat flange. Worked a treat. Again, a bit more tidy up and filler and it will be like new...

D3E8AADF-20AE-4742-877A-8032CABC9D13.jpeg
0BDA5413-645C-4768-90DC-D1C9D80EBD92.jpeg
2A9F982B-4363-405A-9C35-23232760198C.jpeg
085AE054-9928-49E8-BB75-63D69804ED33.jpeg
CA3EDACE-EFA0-4E9F-86E1-DF71C0FB93B4.jpeg

quite a bit of work, but I think the end result will be quite good. And it is probably the best panel to play with as it is the least seen one.

650B6164-1617-44BF-ABA5-36A43A6366D1.jpeg

next weekend I will finish the welding and cleaning up the welds...

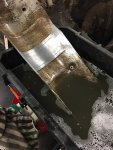
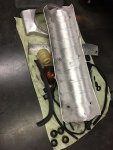
cleaning up the aluminium heat shield was a horrible job. The dirt was that caked in, scrubbing it took forever and didnā€™t do a good enough job. So I used a wire brush on the drill to ā€˜grindā€™ it clean... but how to protect it, does heat resistant clear coat exist?

A80E6555-91F5-4C91-8C79-1EBE83D6AADA.jpeg
DB2E6B46-685B-4D52-B235-2349FADED1B1.jpeg

Sven
 
Last edited:
I recently discovered that if you convert pictures to PNG format before uploading, it makes photo management much easier on this forum.

I know it's an extra step, but in Windows all you have to do is open the picture in Paint, then use 'Save as' to save a new copy in PNG format.

When you upload files ending in .png, they are displayed as thumbnails, just as .jpg files used to be.

Cheers
Alec
 
I think I had the IT gremlin last night when I tried to upload the blog and photos. It stuffed up three times and I had to log back in and recover the story. I assume that is when the photo links stuffed up...

so: just redid it - letā€™s hope they work now for you! Wouldnā€™t want to miss out on my ā€œexpertā€ work ... :D
 
Hello, I must admit, my valance was just as bad, I put on a plastic one. Oh the shame of it..

that was (still is) an alternative. But the cost to ship and possible problems with fit accuracy considered, I thought I give it a go and see if I can fix it - not out of the woods yet, but itā€™s looking ok...

do the plastic panels exist for the second nose cars? Are you happy with yours?
 
Hello, I must admit, my valance was just as bad, I put on a plastic one. Oh the shame of it..
There ain't no shame, Badabec. Consider: 1) the D was widely heralded for it's use of synthetics. 2) second nose stuff is hard as hell to come by. 3) We're all working according to our skills.

Sent from my moto g(7) play using aussiefrogs mobile app
 
Top