Firstly for anyone that is opposed to fitting non era current technology to a '70's D, avert your gaze now :nownow: 
This is a solution that suits the late model 3 dial dash D, where the space allocated for a radio is non standard (I think the DIN standard was just becoming common place at the time of production?).
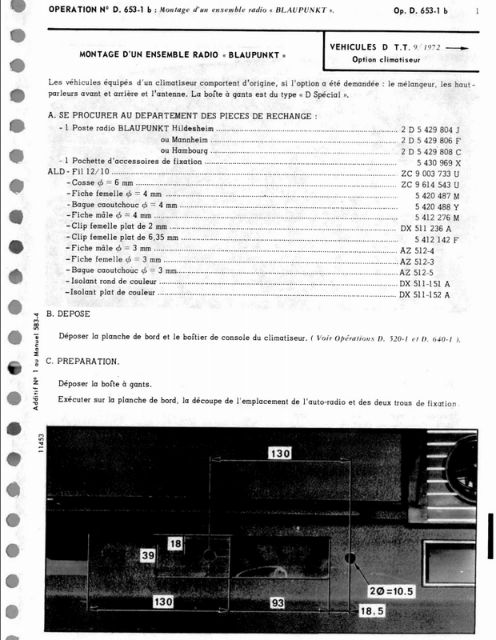
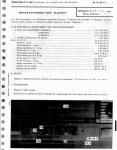
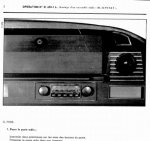
Citroen at the time did issue a service bulletin for the fitting of a radio into the dash below the glovebox, this meant of course that the radio was out of reach for the driver. :nownow:
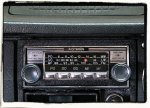
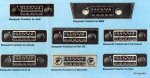
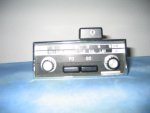
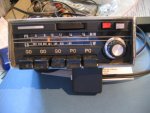
Blaupukt and a few other players came to the party with a model in their range dedicated to Citroen.

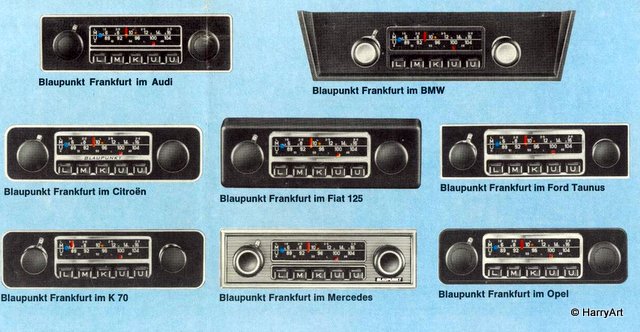
Subsequently a number of manufacturers provided a solution to the non DIN standard space provided in the centre of the dash above the ashtray. The most desirable today would be the Continental Edison range which were designed to fit and integrate into the dash. These now fetch a premium, I've seen them sell for 600Euro with a modification allowing an external storage device to be attached and play your mp3 music files.
My intention once I have my D Special back on the road is to use it as a daily driver, I do like to listen to the radio driving to work, Classic Breakfast with Emma Ayres on ABC 106.6 is a treat, I also like to listen to my own music collection, a good part of which is stored on my phone.
I also recognise the need for hands free phone calls, from my point of view essential with a manual car but now a legal requirement in Queensland and I guess elsewhere in Aus.
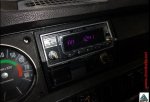
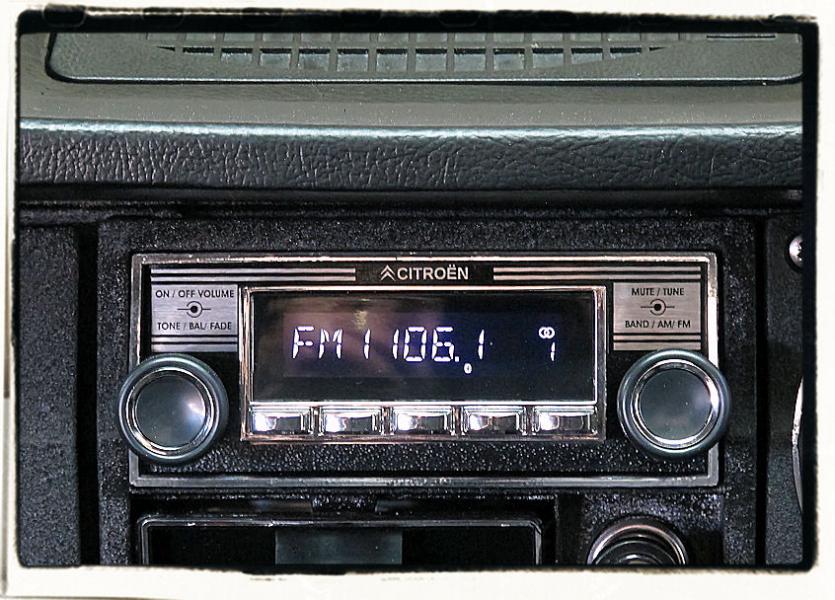
After researching a few years back the ultimate solution appeared to be the Retrosound Model 2, this unit has most of the bells and whistles available today, bluetooth, 2 x USB, 2 x Aux etc, all packaged in a retro look and small enough to fit the space in the D centre cubby.
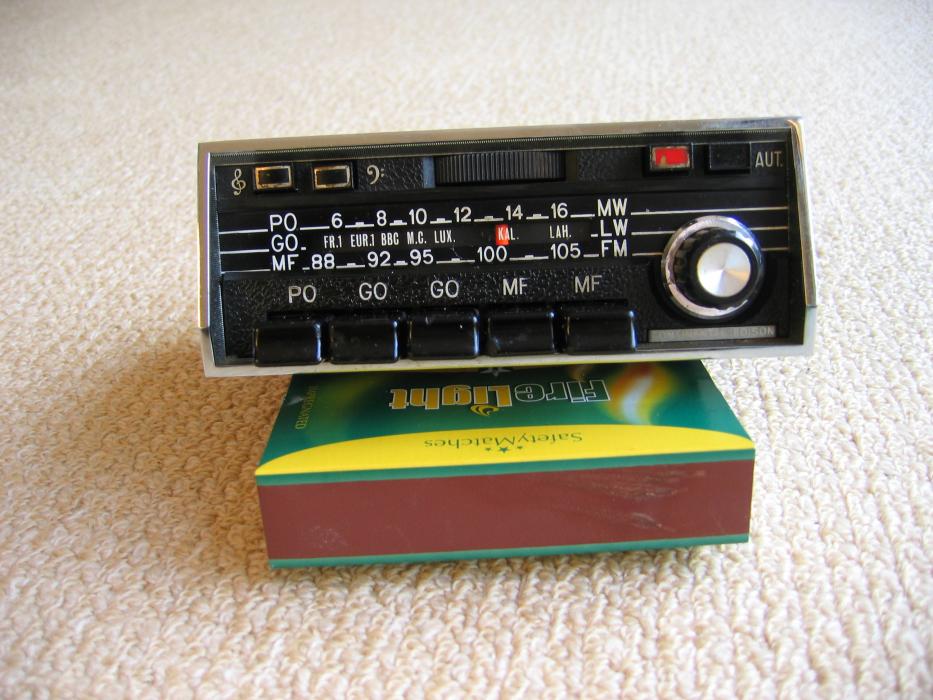
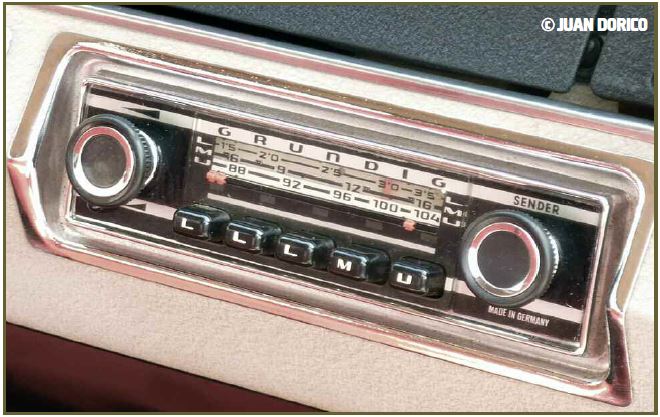
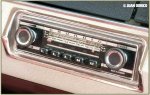
I've seen a few installations that work but are basically just utilising the Retrosound fitting kit and whilst they fit and work perfectly well they don't look finished to me. I set about producing a custom faceplate that had a '70's feel, drawing on the Continental Edison as above and the earlier Grundig fitted to the 2nd nose dash.
The result was posted in my cars rejuvenation thread
http://www.aussiefrogs.com/forum/re...ecial-rejuvenation-2009-a-17.html#post1194730
Quite pleasantly I have been contacted by enthusiasts from around the world and have now supplied the faceplate kit mostly into Europe but now several here in Aus. Each time I get an inquiry I'm asked for detail of the installation, currently an AF member has asked for these details so thought it appropriate to post here.
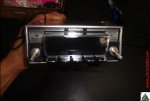
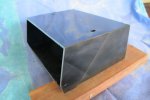
I utilise the existing plastic cubby above the ashtray.

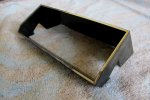
Cut down along the existing angled recess as shown here.

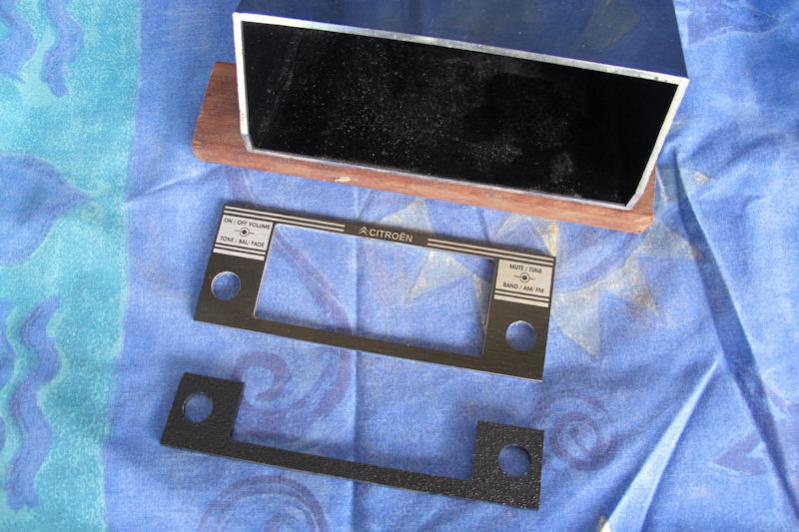
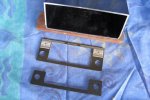
This is the faceplate kit, it consists of a screenprinted brushed aluminium rear and an textured black ABS front. these have been cut on a flatbed router and fit over the face of the headunit.
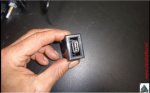
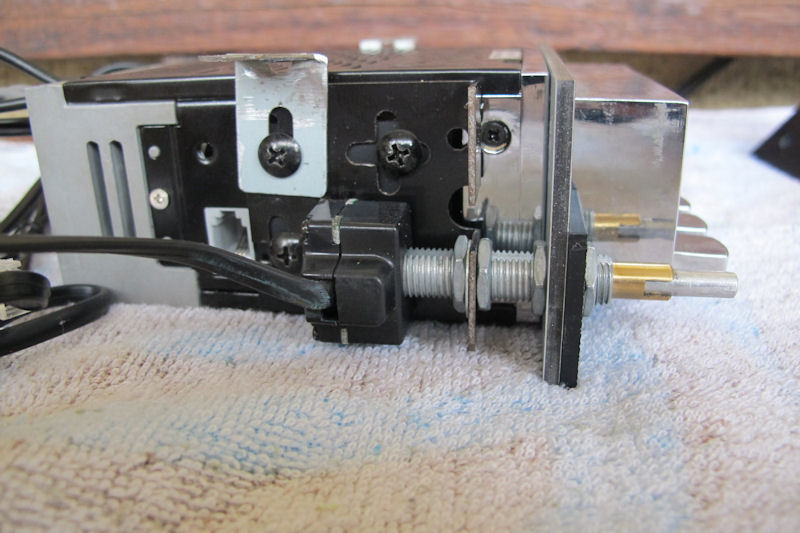
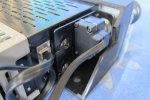
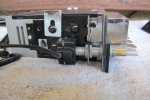
Using Retrosound's terminology, cut and fit the infinimount so the the knobshaft sits as close and low to the headunit as possible - shown here.
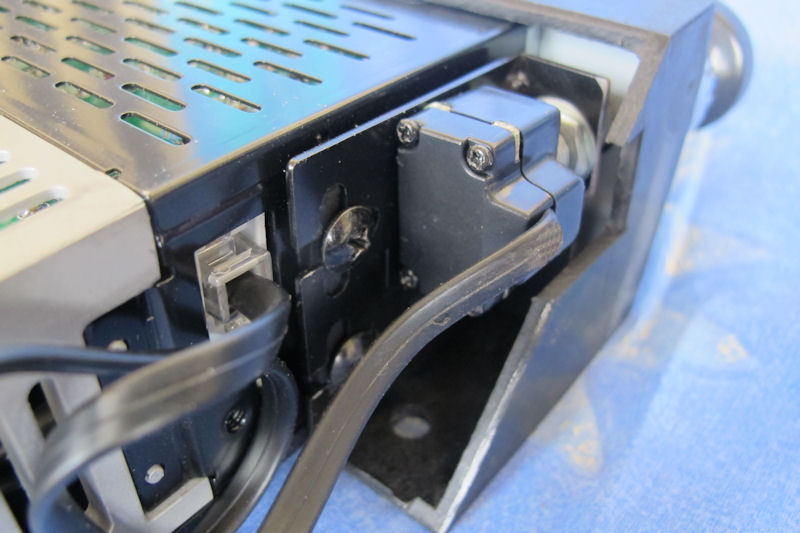
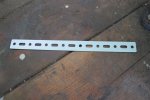
Using the supplied bracket, cut, bend and fit as shown here - note it should sit about 2-3mm proud of the top of the unit, this is to cause the unit to sit at a slight downward angle when fitted to the car so that the rear cables etc. clear the heater demister tube under the dash.
This pic also shows the faceplate mounted in profile, should give a good starting point for the relationship of the shaft and faceplate.

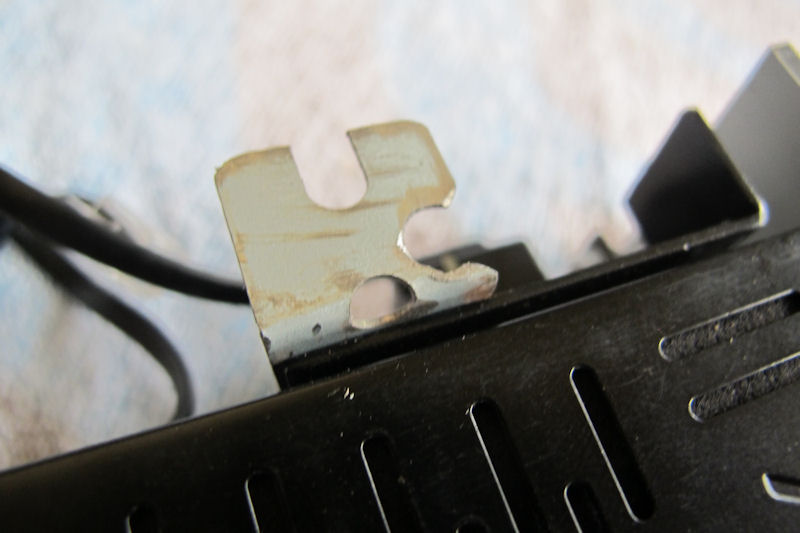
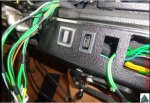
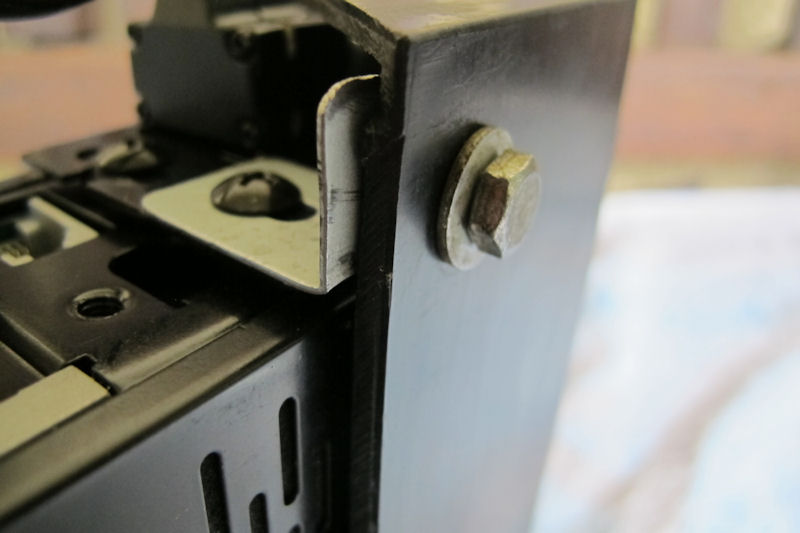
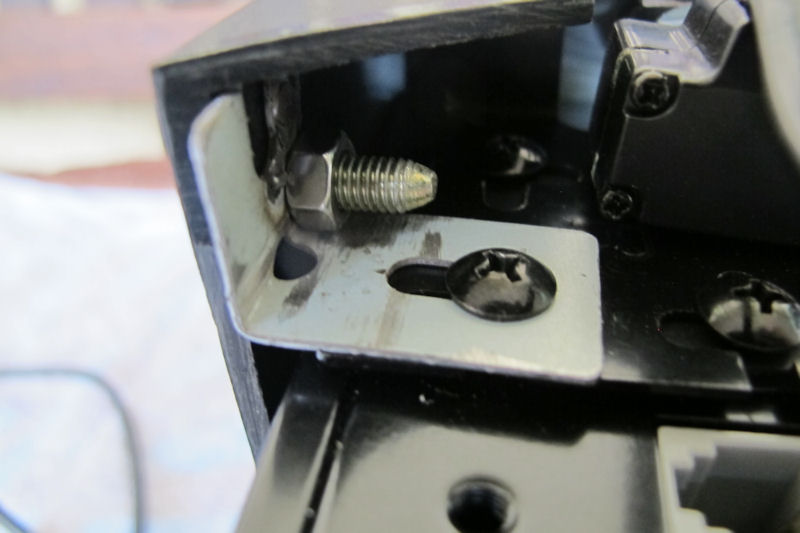
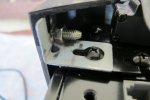
With the cubby housing fitted in position use the existing holes to mark the position on the rear folded brackets, these are used to mount the whole unit to the dash, fixing to the existing holes below the centre speaker grill.
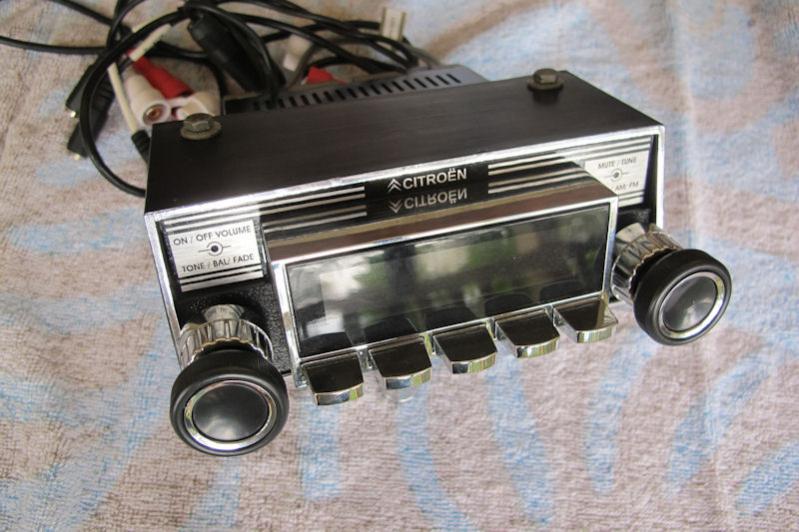
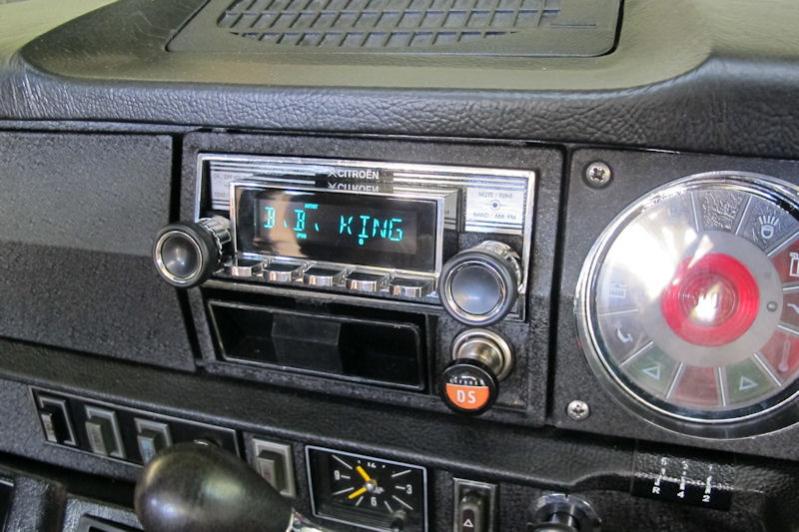
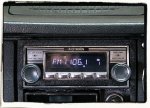
Assembled unit
Fitted to car - all reversible with the exception of the plastic cubby.
I still have faceplates available if anyone is interested, these usually change hands for a bottle of wine or exchange of Cit bits :wink2:
Cheers
Chris
This is a solution that suits the late model 3 dial dash D, where the space allocated for a radio is non standard (I think the DIN standard was just becoming common place at the time of production?).
Citroen at the time did issue a service bulletin for the fitting of a radio into the dash below the glovebox, this meant of course that the radio was out of reach for the driver. :nownow:
Blaupukt and a few other players came to the party with a model in their range dedicated to Citroen.
Subsequently a number of manufacturers provided a solution to the non DIN standard space provided in the centre of the dash above the ashtray. The most desirable today would be the Continental Edison range which were designed to fit and integrate into the dash. These now fetch a premium, I've seen them sell for 600Euro with a modification allowing an external storage device to be attached and play your mp3 music files.
My intention once I have my D Special back on the road is to use it as a daily driver, I do like to listen to the radio driving to work, Classic Breakfast with Emma Ayres on ABC 106.6 is a treat, I also like to listen to my own music collection, a good part of which is stored on my phone.
I also recognise the need for hands free phone calls, from my point of view essential with a manual car but now a legal requirement in Queensland and I guess elsewhere in Aus.
After researching a few years back the ultimate solution appeared to be the Retrosound Model 2, this unit has most of the bells and whistles available today, bluetooth, 2 x USB, 2 x Aux etc, all packaged in a retro look and small enough to fit the space in the D centre cubby.
I've seen a few installations that work but are basically just utilising the Retrosound fitting kit and whilst they fit and work perfectly well they don't look finished to me. I set about producing a custom faceplate that had a '70's feel, drawing on the Continental Edison as above and the earlier Grundig fitted to the 2nd nose dash.
The result was posted in my cars rejuvenation thread
http://www.aussiefrogs.com/forum/re...ecial-rejuvenation-2009-a-17.html#post1194730
Quite pleasantly I have been contacted by enthusiasts from around the world and have now supplied the faceplate kit mostly into Europe but now several here in Aus. Each time I get an inquiry I'm asked for detail of the installation, currently an AF member has asked for these details so thought it appropriate to post here.
I utilise the existing plastic cubby above the ashtray.
Cut down along the existing angled recess as shown here.
This is the faceplate kit, it consists of a screenprinted brushed aluminium rear and an textured black ABS front. these have been cut on a flatbed router and fit over the face of the headunit.
Using Retrosound's terminology, cut and fit the infinimount so the the knobshaft sits as close and low to the headunit as possible - shown here.
Using the supplied bracket, cut, bend and fit as shown here - note it should sit about 2-3mm proud of the top of the unit, this is to cause the unit to sit at a slight downward angle when fitted to the car so that the rear cables etc. clear the heater demister tube under the dash.
This pic also shows the faceplate mounted in profile, should give a good starting point for the relationship of the shaft and faceplate.
With the cubby housing fitted in position use the existing holes to mark the position on the rear folded brackets, these are used to mount the whole unit to the dash, fixing to the existing holes below the centre speaker grill.
Assembled unit
Fitted to car - all reversible with the exception of the plastic cubby.
I still have faceplates available if anyone is interested, these usually change hands for a bottle of wine or exchange of Cit bits :wink2:
Cheers
Chris
Attachments
-
 4nrnqv.jpg67 KB · Views: 4,416
 -
 Blaupunkt Frankfurt Citroen.jpg70 KB · Views: 5,673
 -
 Cit Bulletin Op D 653 1b.jpg48.7 KB · Views: 4,343
 -
 IMG_4958.jpg25 KB · Views: 4,306
 -
 IMG_4983.jpg96.4 KB · Views: 4,547
 -
 IMG_5101.jpg86.4 KB · Views: 4,500
 -
 Grundig Radio '68 iD.JPG75.1 KB · Views: 4,825
 -
 1Radio Pocket2.jpg69.7 KB · Views: 4,197
 -
 2Radio pocket cutdown.jpg95.8 KB · Views: 4,186
 -
 3Faceplate parts 1 and 2.jpg66.3 KB · Views: 4,165
 -
 4Infini mount.jpg85.7 KB · Views: 4,142
 -
 5aStrap.jpg83 KB · Views: 4,121
 -
 5Dash mount bracket.jpg85.7 KB · Views: 4,116
 -
 6Dash mount bracket2.jpg58.9 KB · Views: 4,103
 -
 7Fixing M5 nut and bolt.jpg56.4 KB · Views: 4,052
 -
 8Fixing M5 nut and bolt2.jpg59.3 KB · Views: 4,033
 -
 9Complete unit ready to install.jpg68.4 KB · Views: 4,009
 -
 10Faceplate.jpg99.7 KB · Views: 5,334
 -
 11Faceplate8.jpg72.7 KB · Views: 4,065

 Especially good for a 3-dial Pallas, because the glove box is considerably larger (LHD only? I don't know about the RHD cars) and actually fills in the space the factory sets aside in your above page.