Hi everyone
I have a 1993 505 GTI station wagon with an automatic transmission. I am having trouble removing the gearbox front cover.
I'm removing the engine and am up to the step in the Haynes manual (Chapter 1, section 27, step 14) "Unbolt and remove the gearbox front cover, and the TDC sensor cover...". Unfortunately there are no pictures to guide that step.
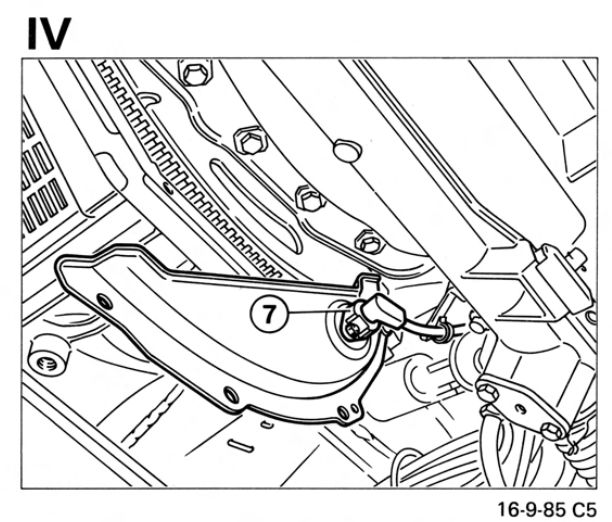
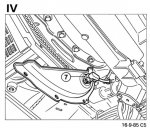
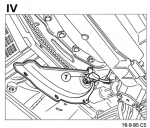
The 1986 Peugeot Workshop (page B4.106) says "Remove the torque converter housing closing plate..." and shows the picture (the cover is the half moon shape here):
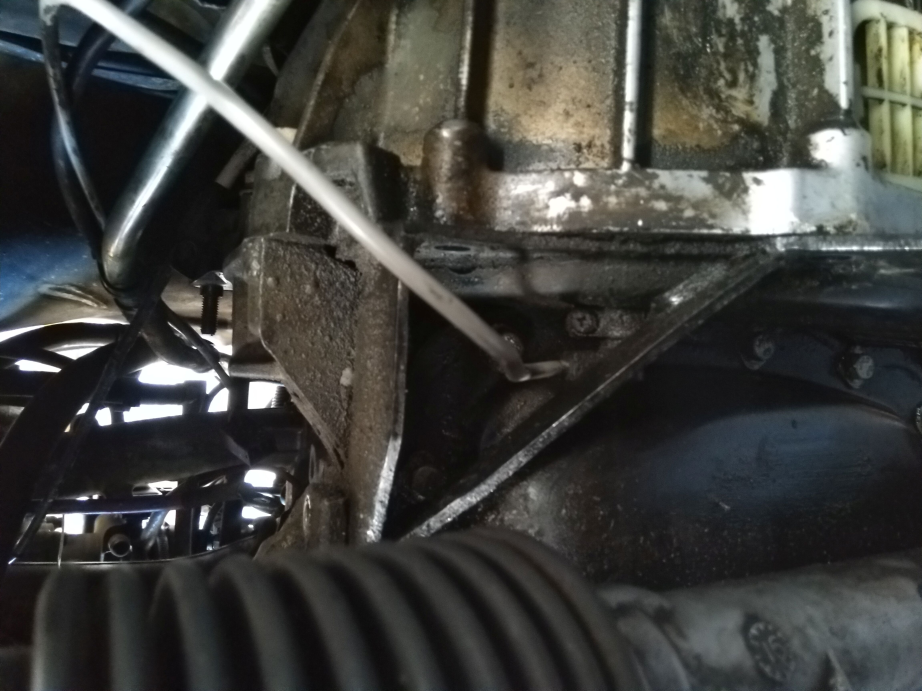
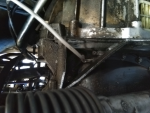
My cover plate also has a triangular reinforcement. Here is a photo of it (looking up with the engine at the bottom and transmission at the top of the photo):
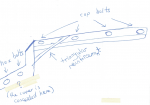
And here is my rough drawing of the shape of cover (as much of it as I can see):
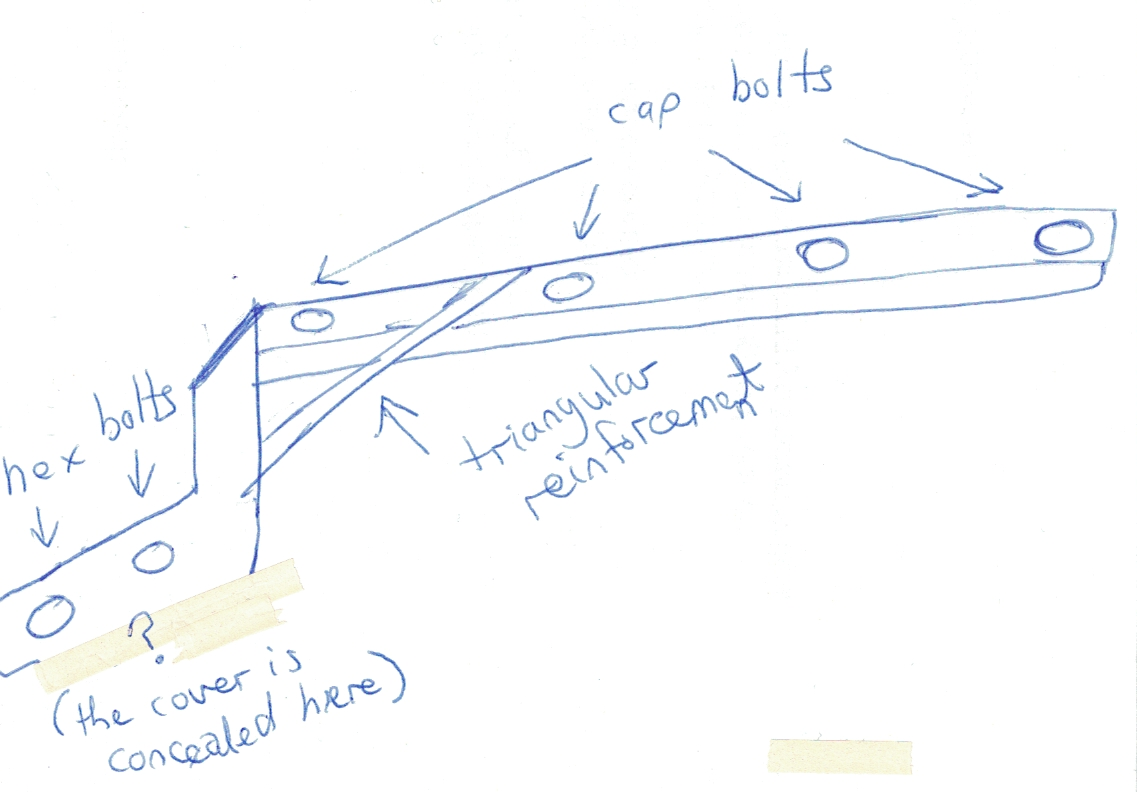
I have removed the four hex cap bolts on the bottom edge of the cover and two normal hex bolts attached to the RHS side part of the cover (as viewed as in the photo), but it still won't come off.
Is another bolt or two to remove? Or is there something else I should know when removing it?
Cheers
Hugo
I have a 1993 505 GTI station wagon with an automatic transmission. I am having trouble removing the gearbox front cover.
I'm removing the engine and am up to the step in the Haynes manual (Chapter 1, section 27, step 14) "Unbolt and remove the gearbox front cover, and the TDC sensor cover...". Unfortunately there are no pictures to guide that step.
The 1986 Peugeot Workshop (page B4.106) says "Remove the torque converter housing closing plate..." and shows the picture (the cover is the half moon shape here):
My cover plate also has a triangular reinforcement. Here is a photo of it (looking up with the engine at the bottom and transmission at the top of the photo):
And here is my rough drawing of the shape of cover (as much of it as I can see):
I have removed the four hex cap bolts on the bottom edge of the cover and two normal hex bolts attached to the RHS side part of the cover (as viewed as in the photo), but it still won't come off.
Is another bolt or two to remove? Or is there something else I should know when removing it?
Cheers
Hugo
")